
AmazonCloud Technology offers a wide range of cloud products, which are also available for free trial. Visit:Amazon Web Services official website
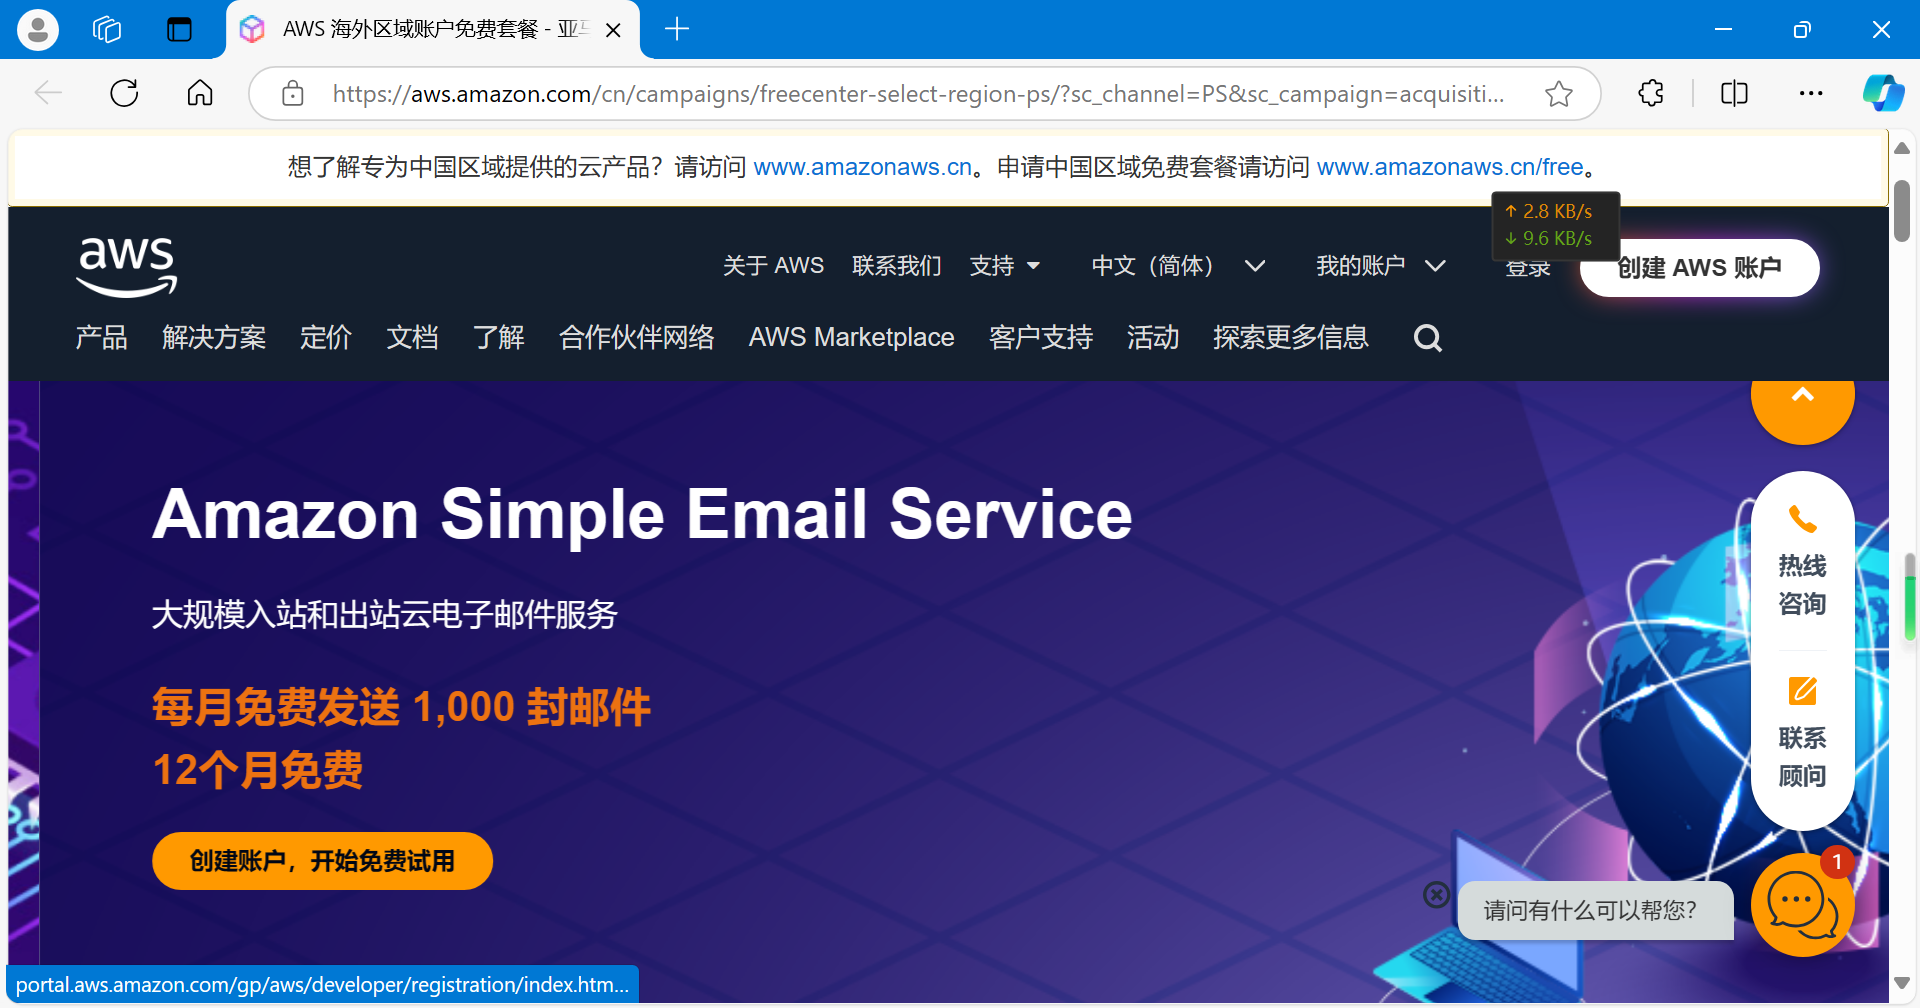
Click the top right corner to create an account
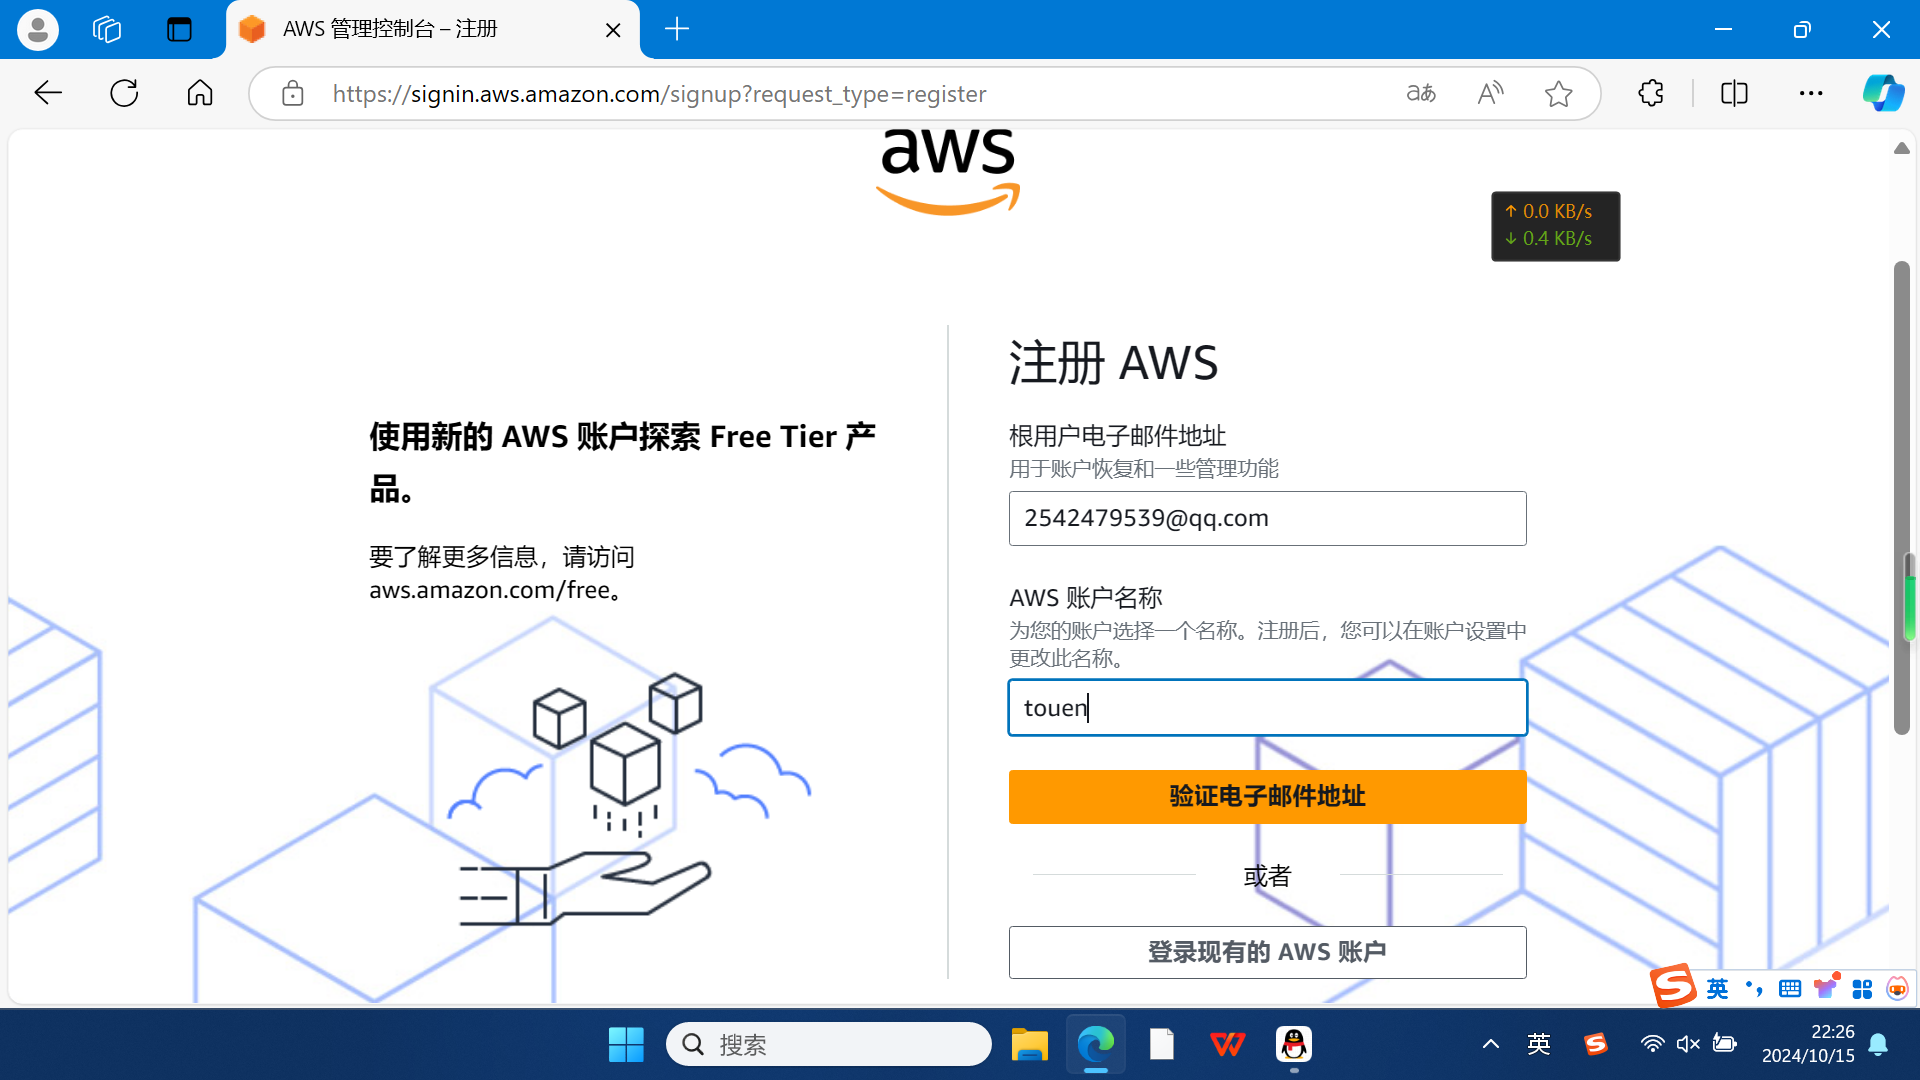
Follow the registration process prompts to register an account
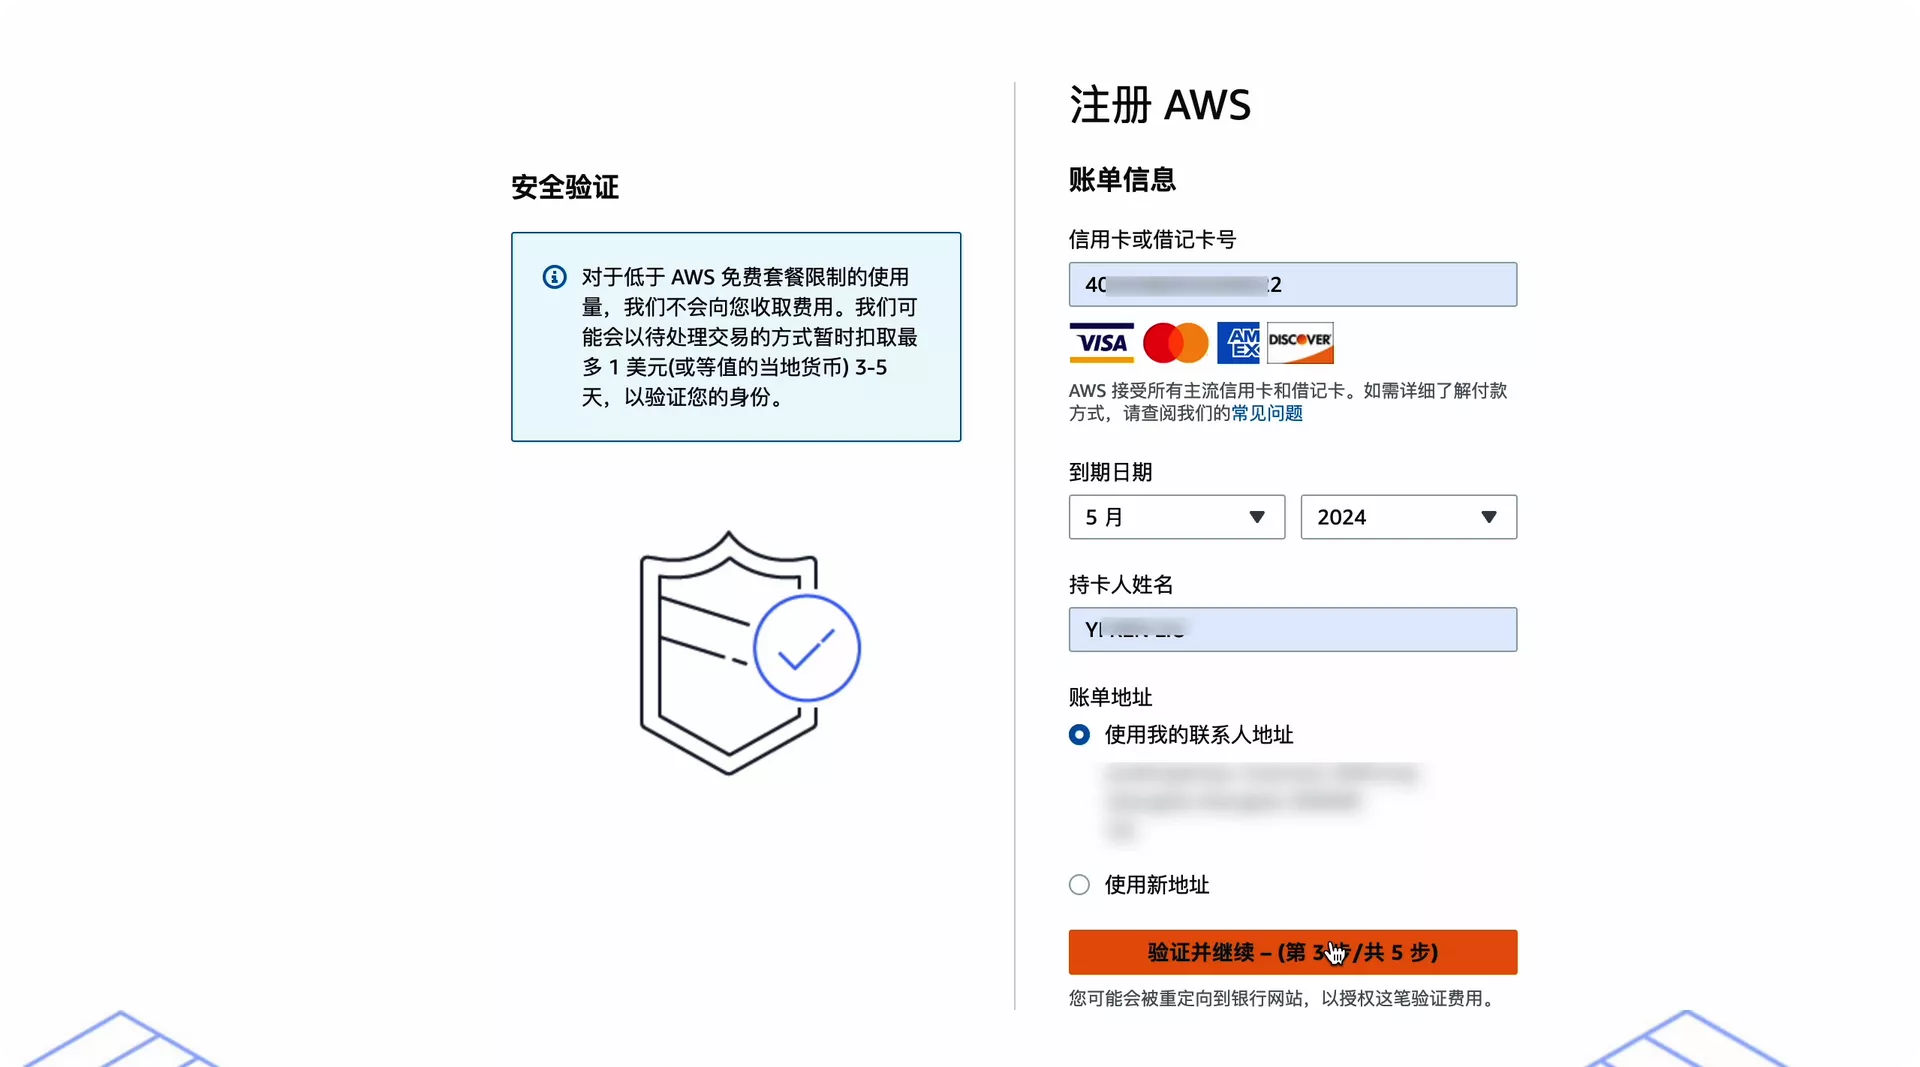
Finally, after filling in your credit card information, registration is complete
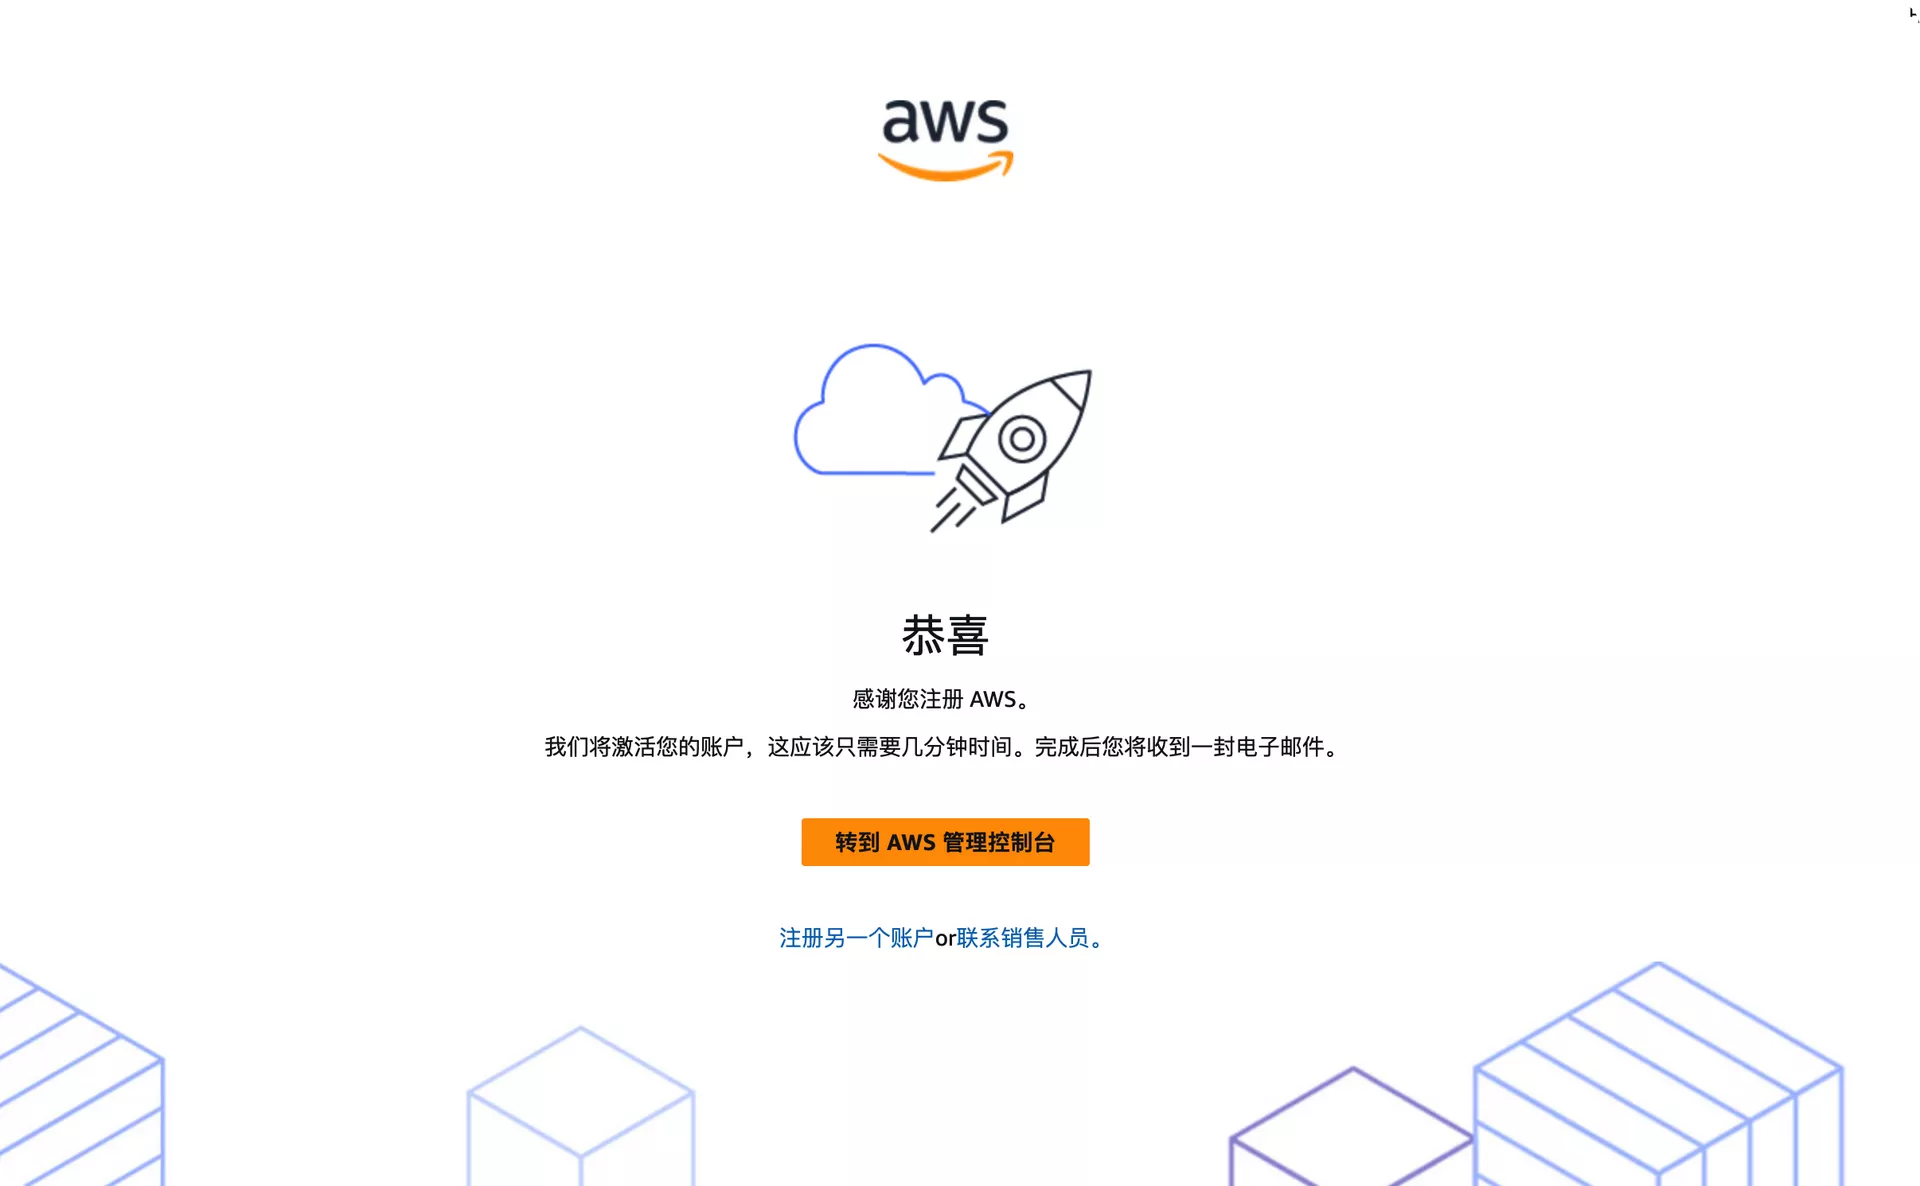
Registration successful as above
Next, after successfully activating your account, click to enter the console
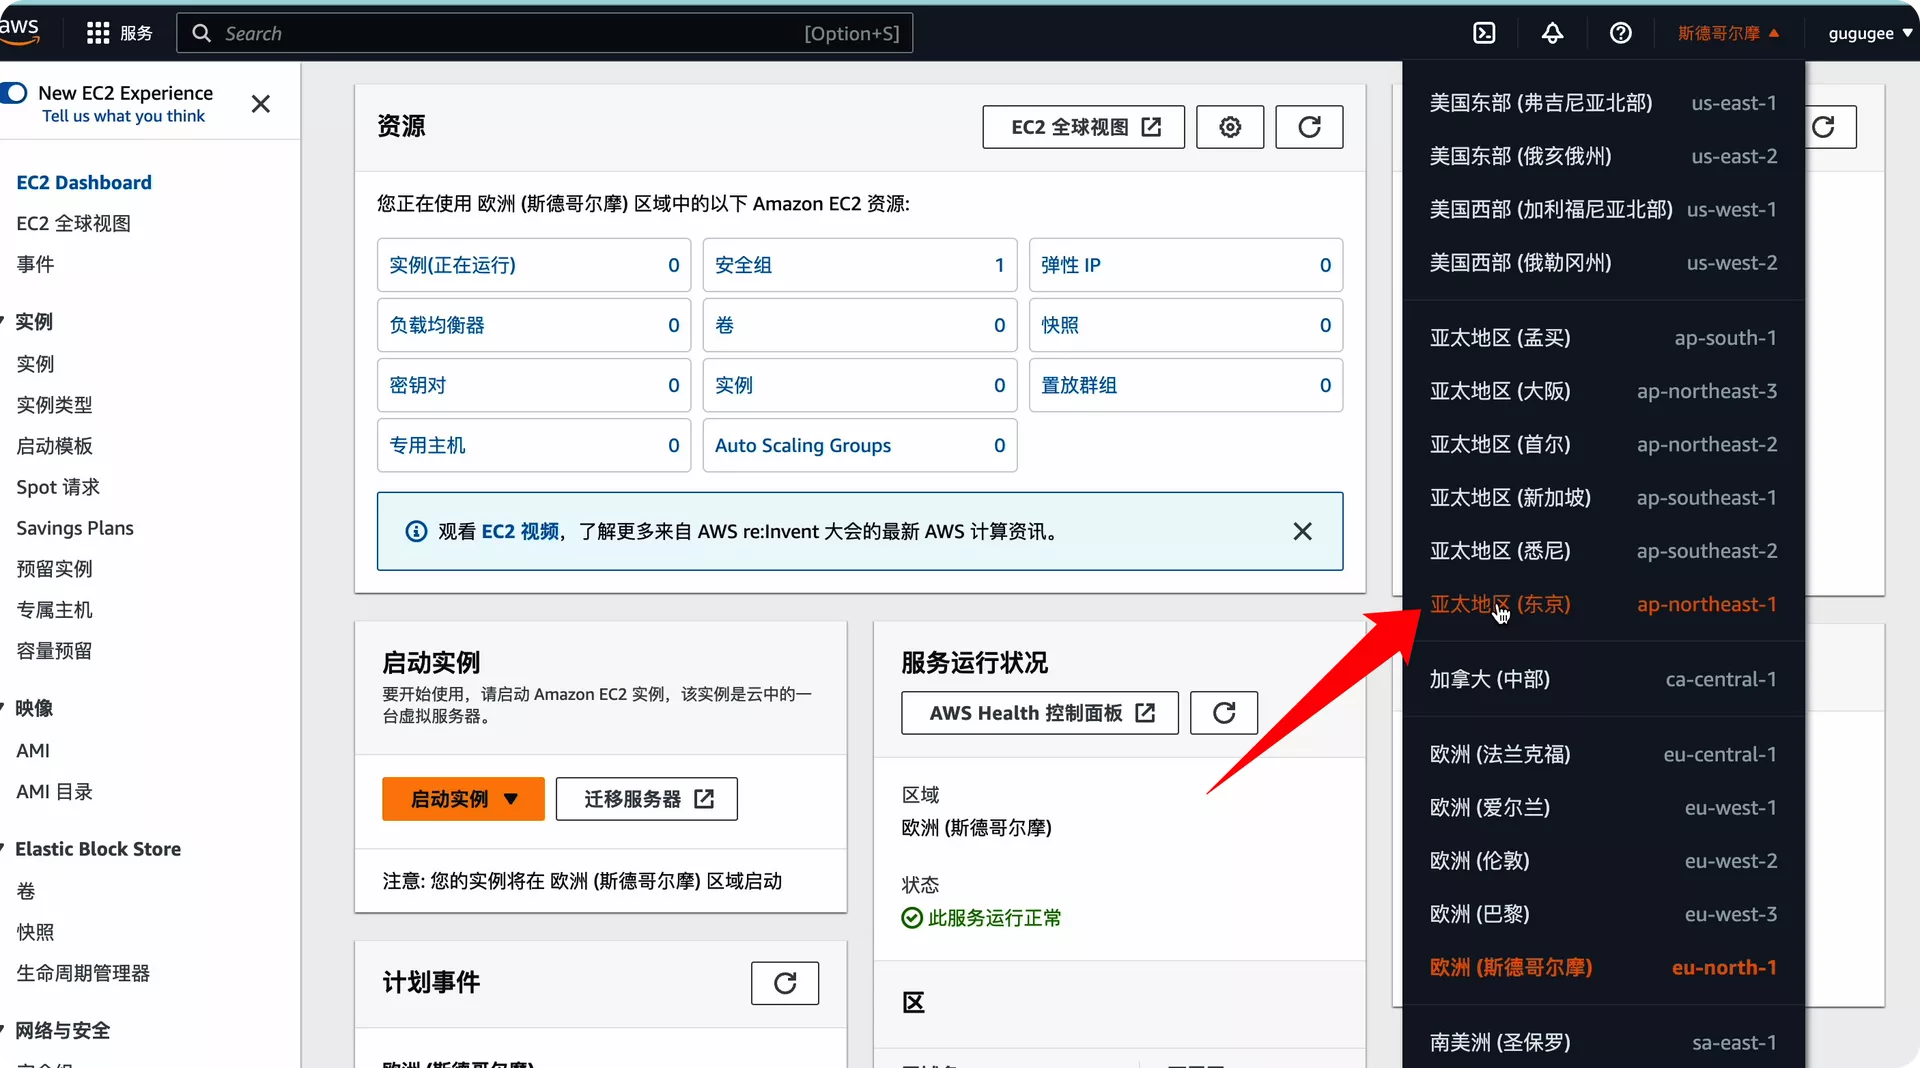
We use the Asia-Pacific region as an example to create a new example
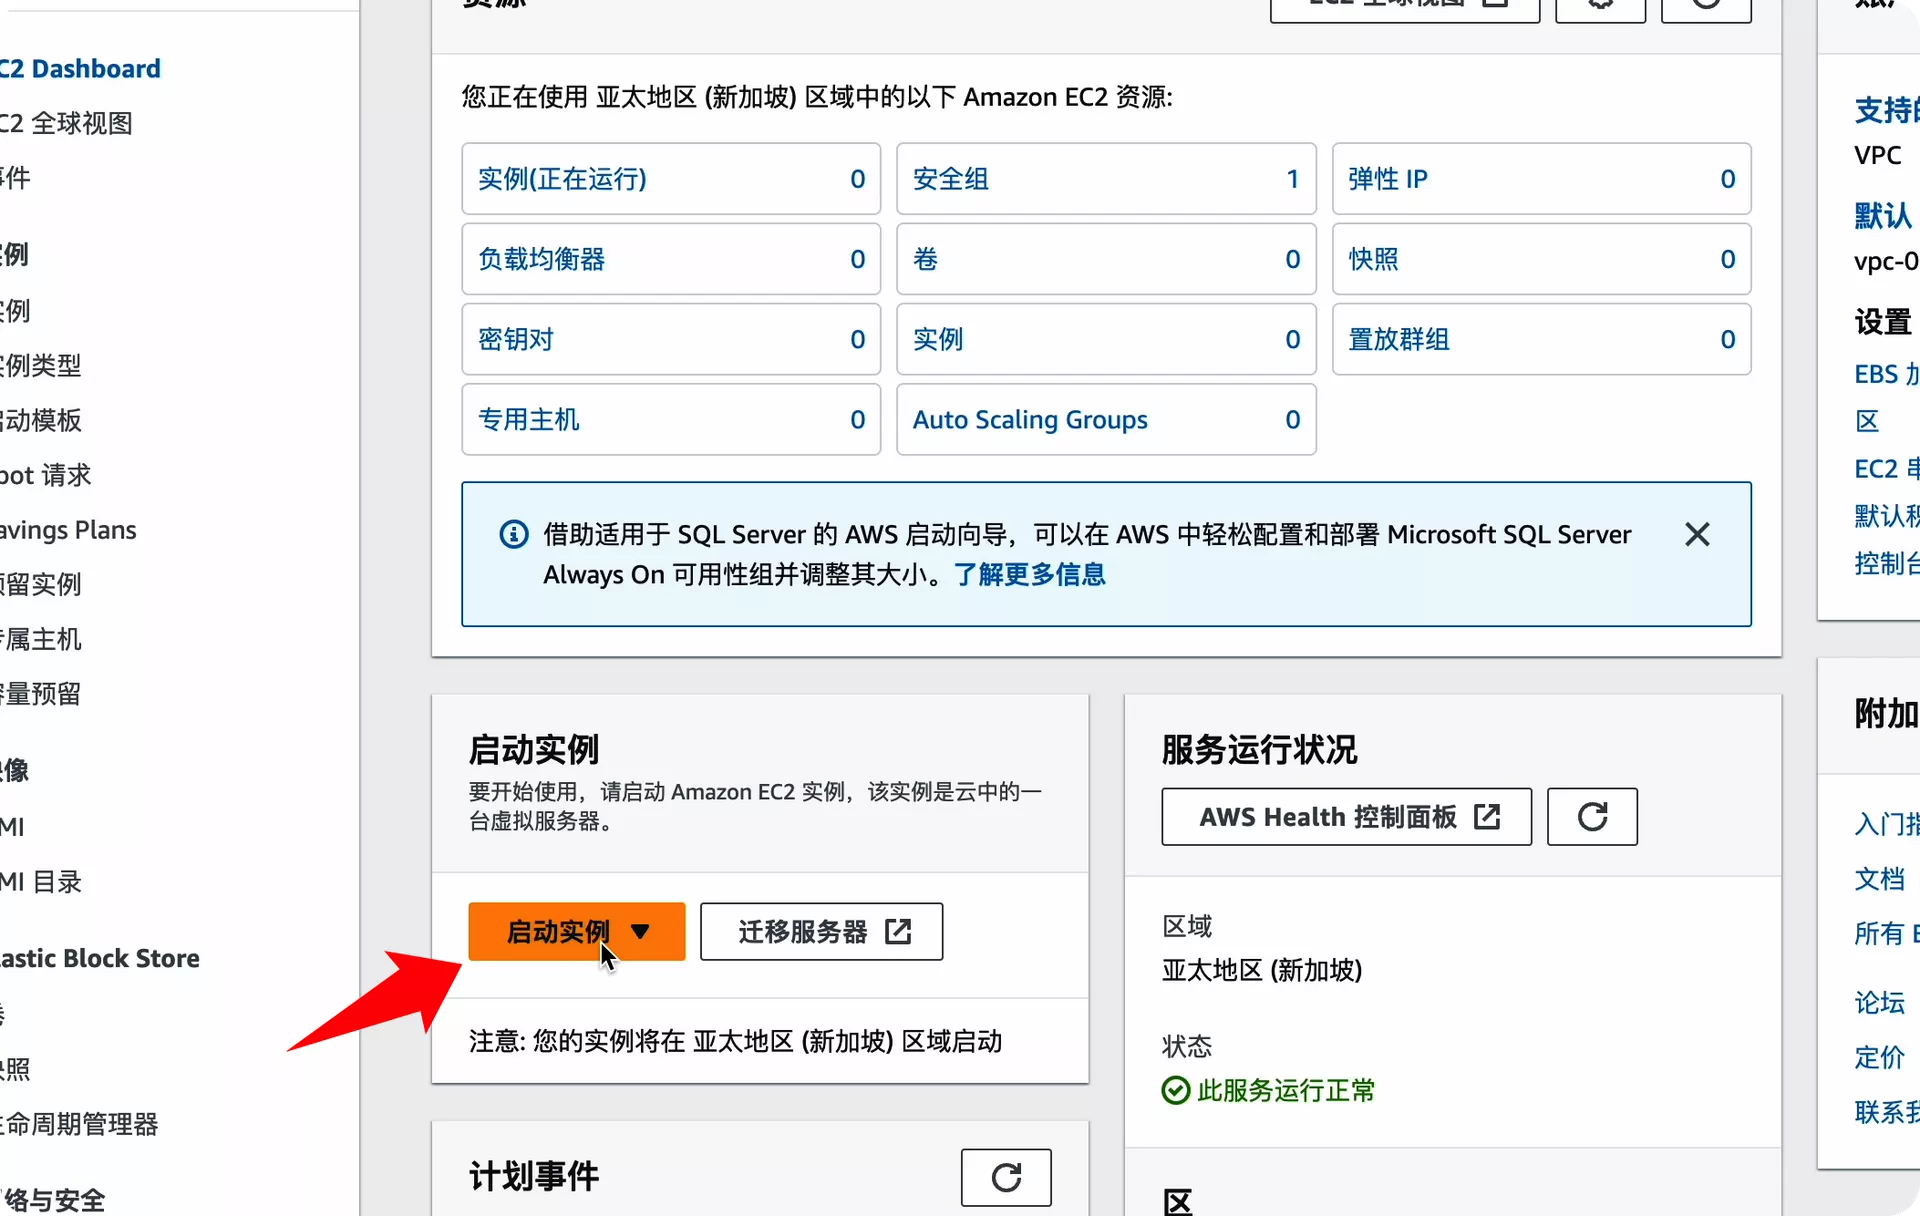
Click to start the instance
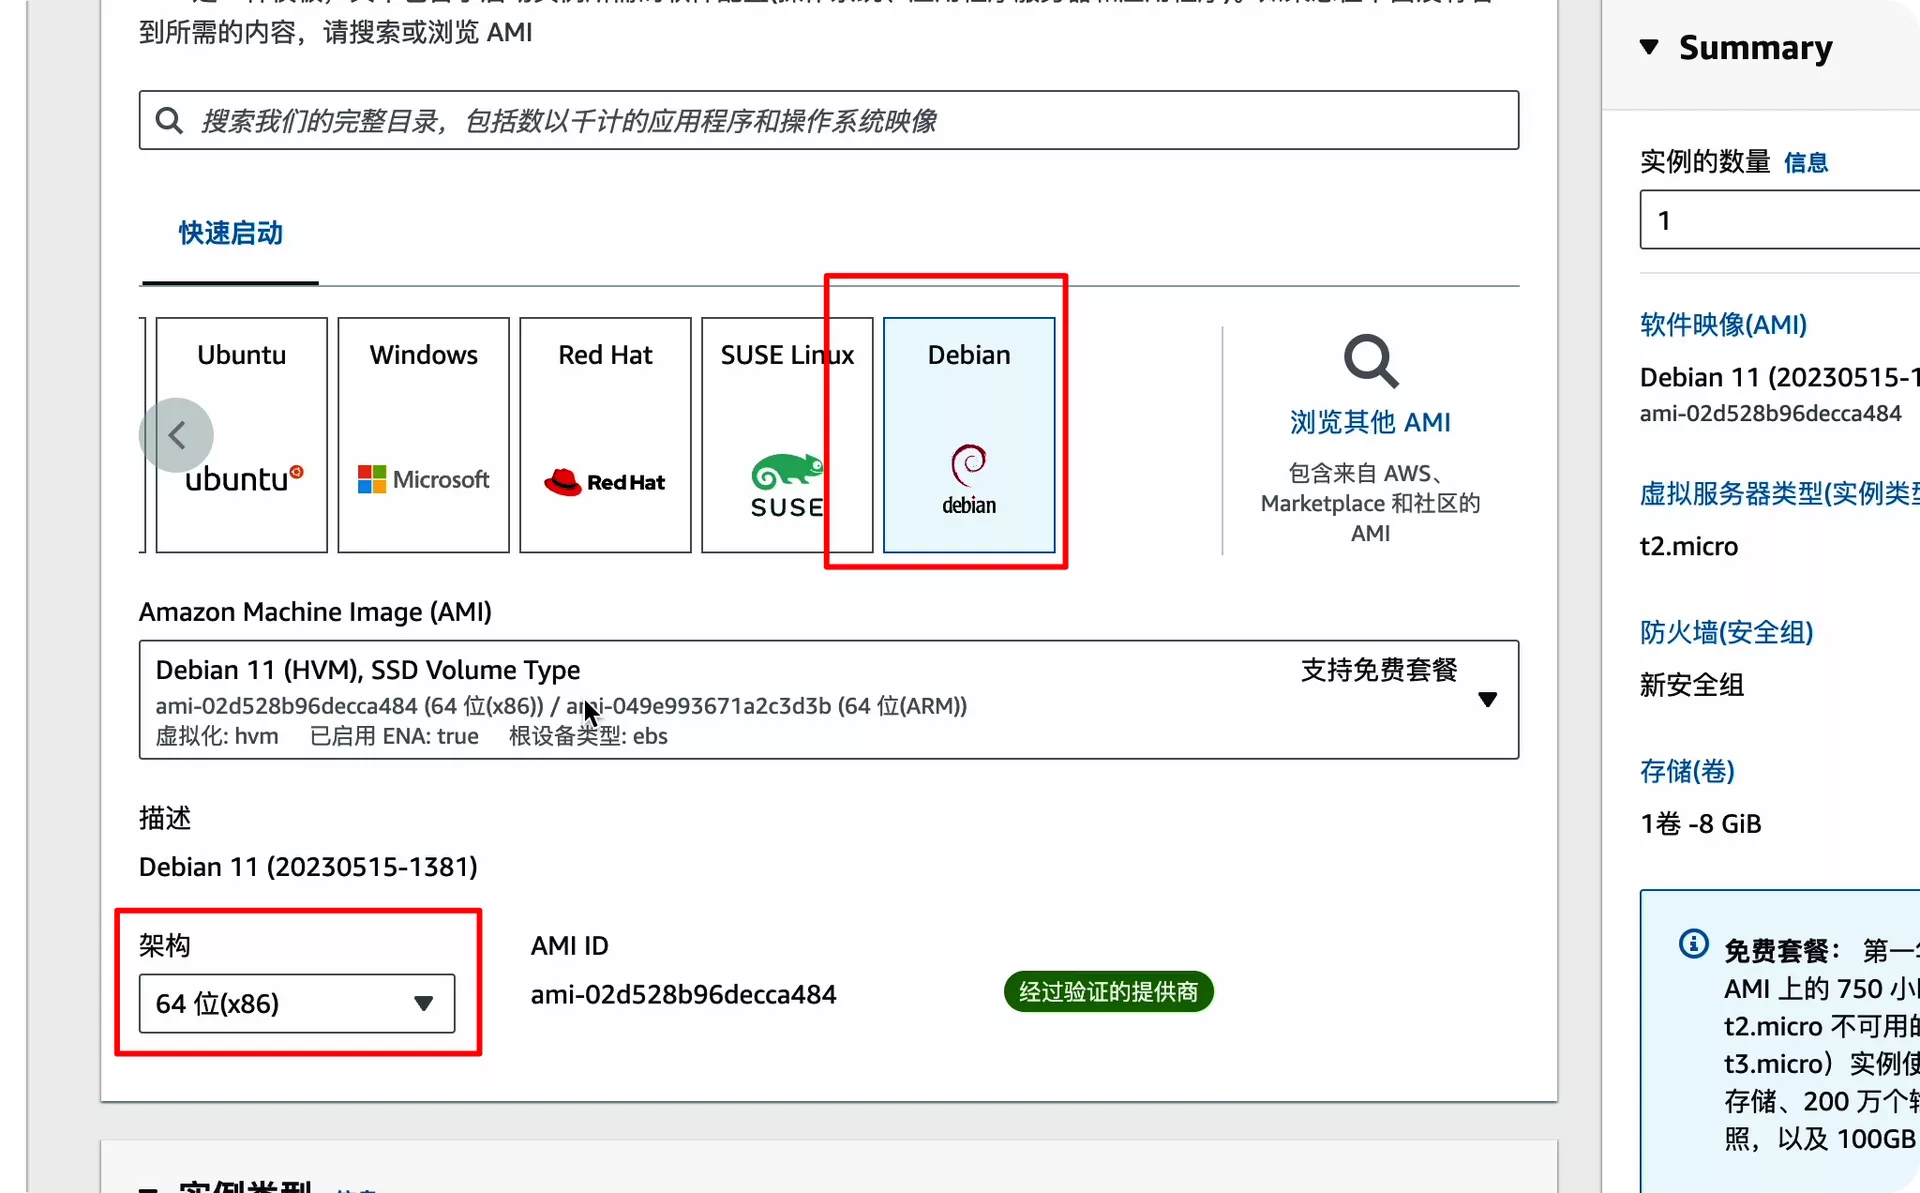
Choose the Debian system
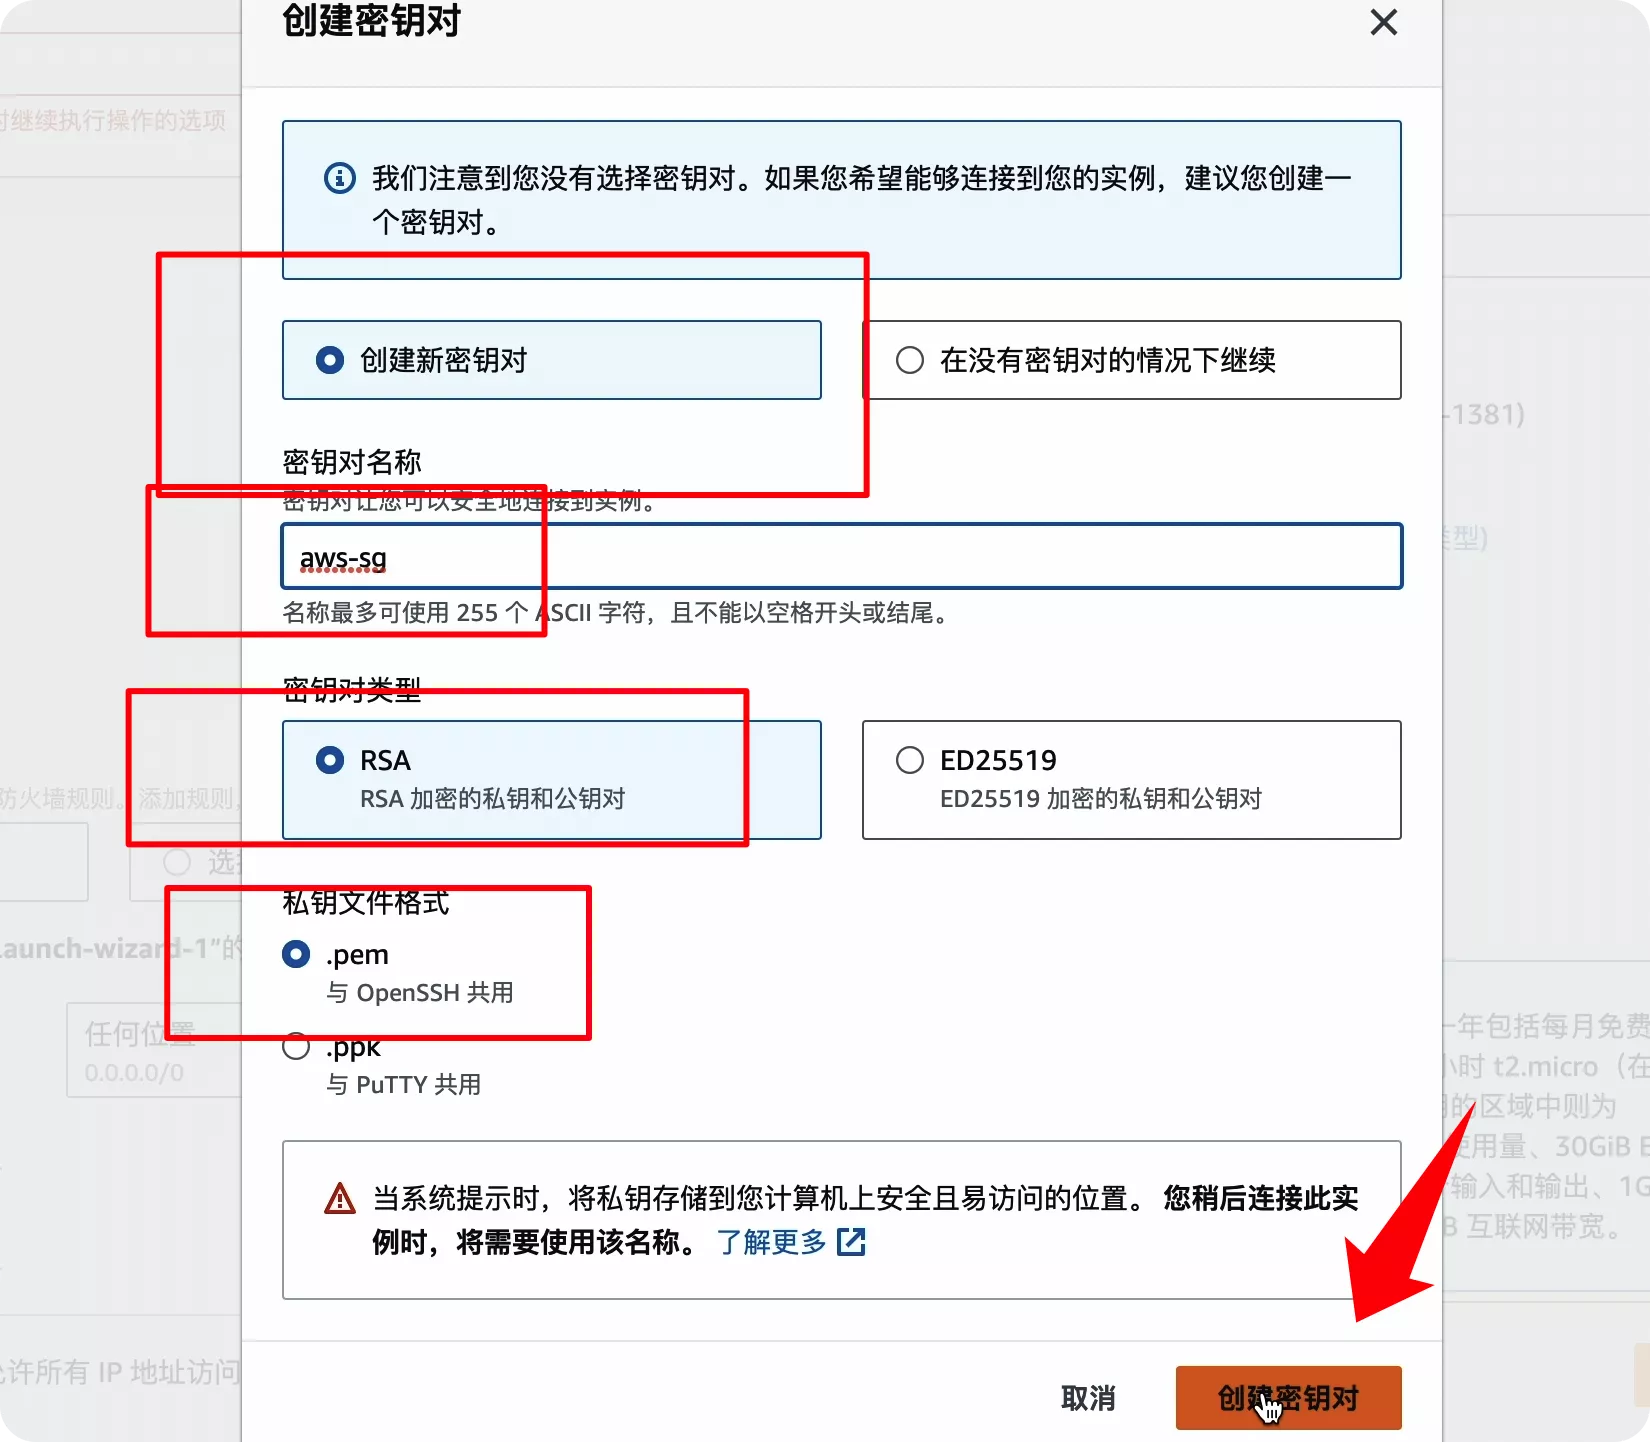
Here, we follow the prompts to create a key pair
Click Startup and a startup notification will appear, indicating that you can use the server
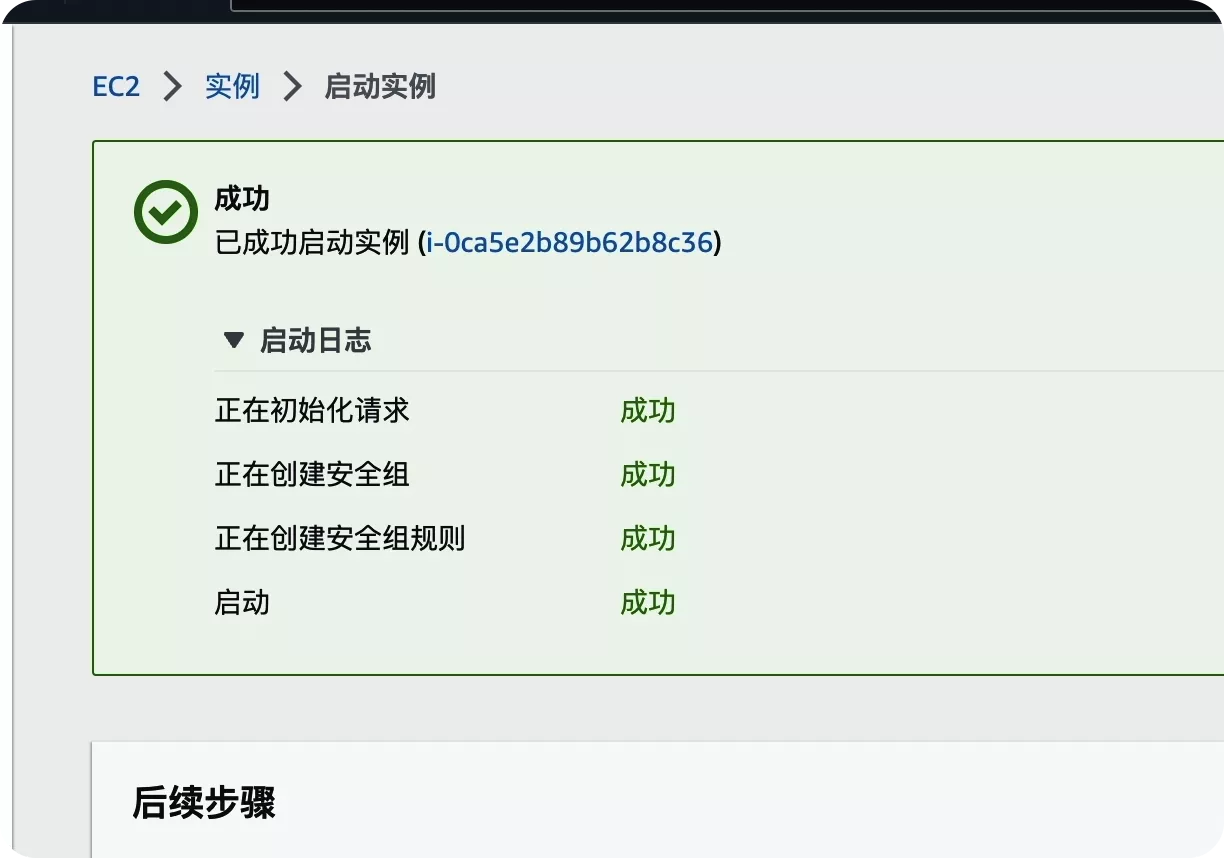
To connect our machine, we need an SSH connection tool
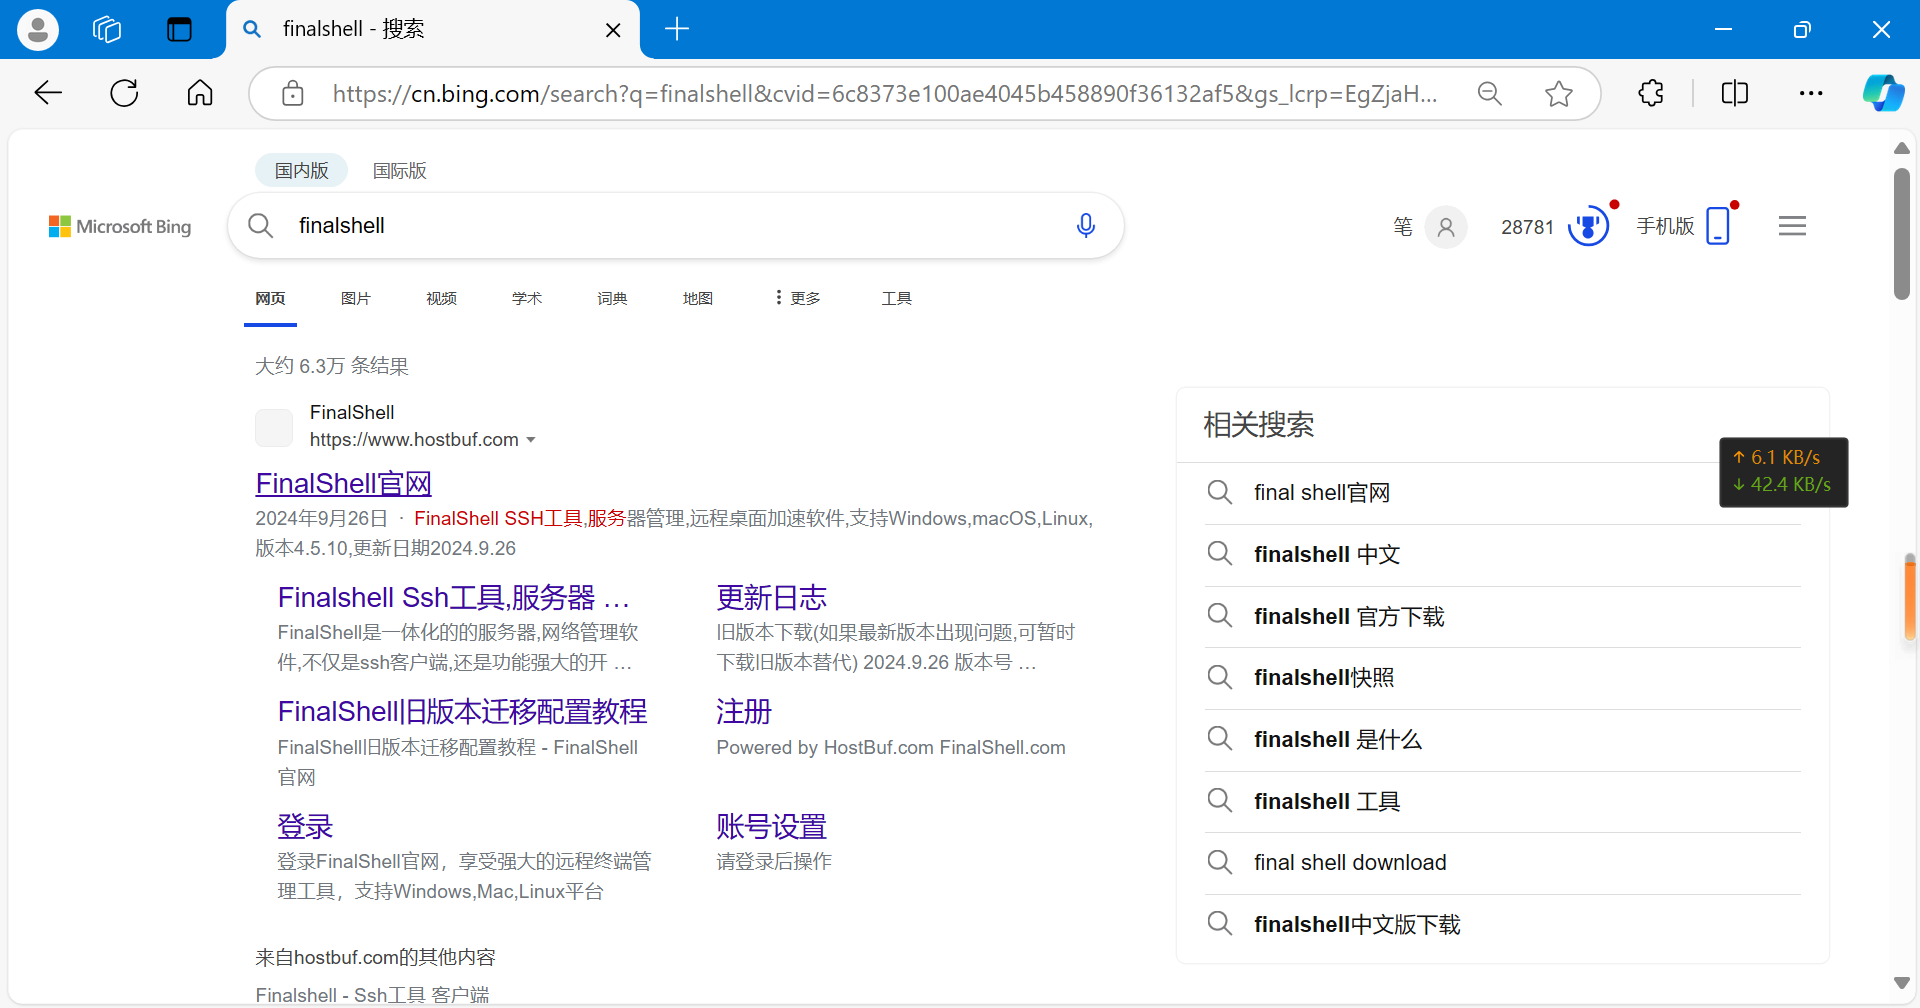
Search for finalshell and click to enter the official website
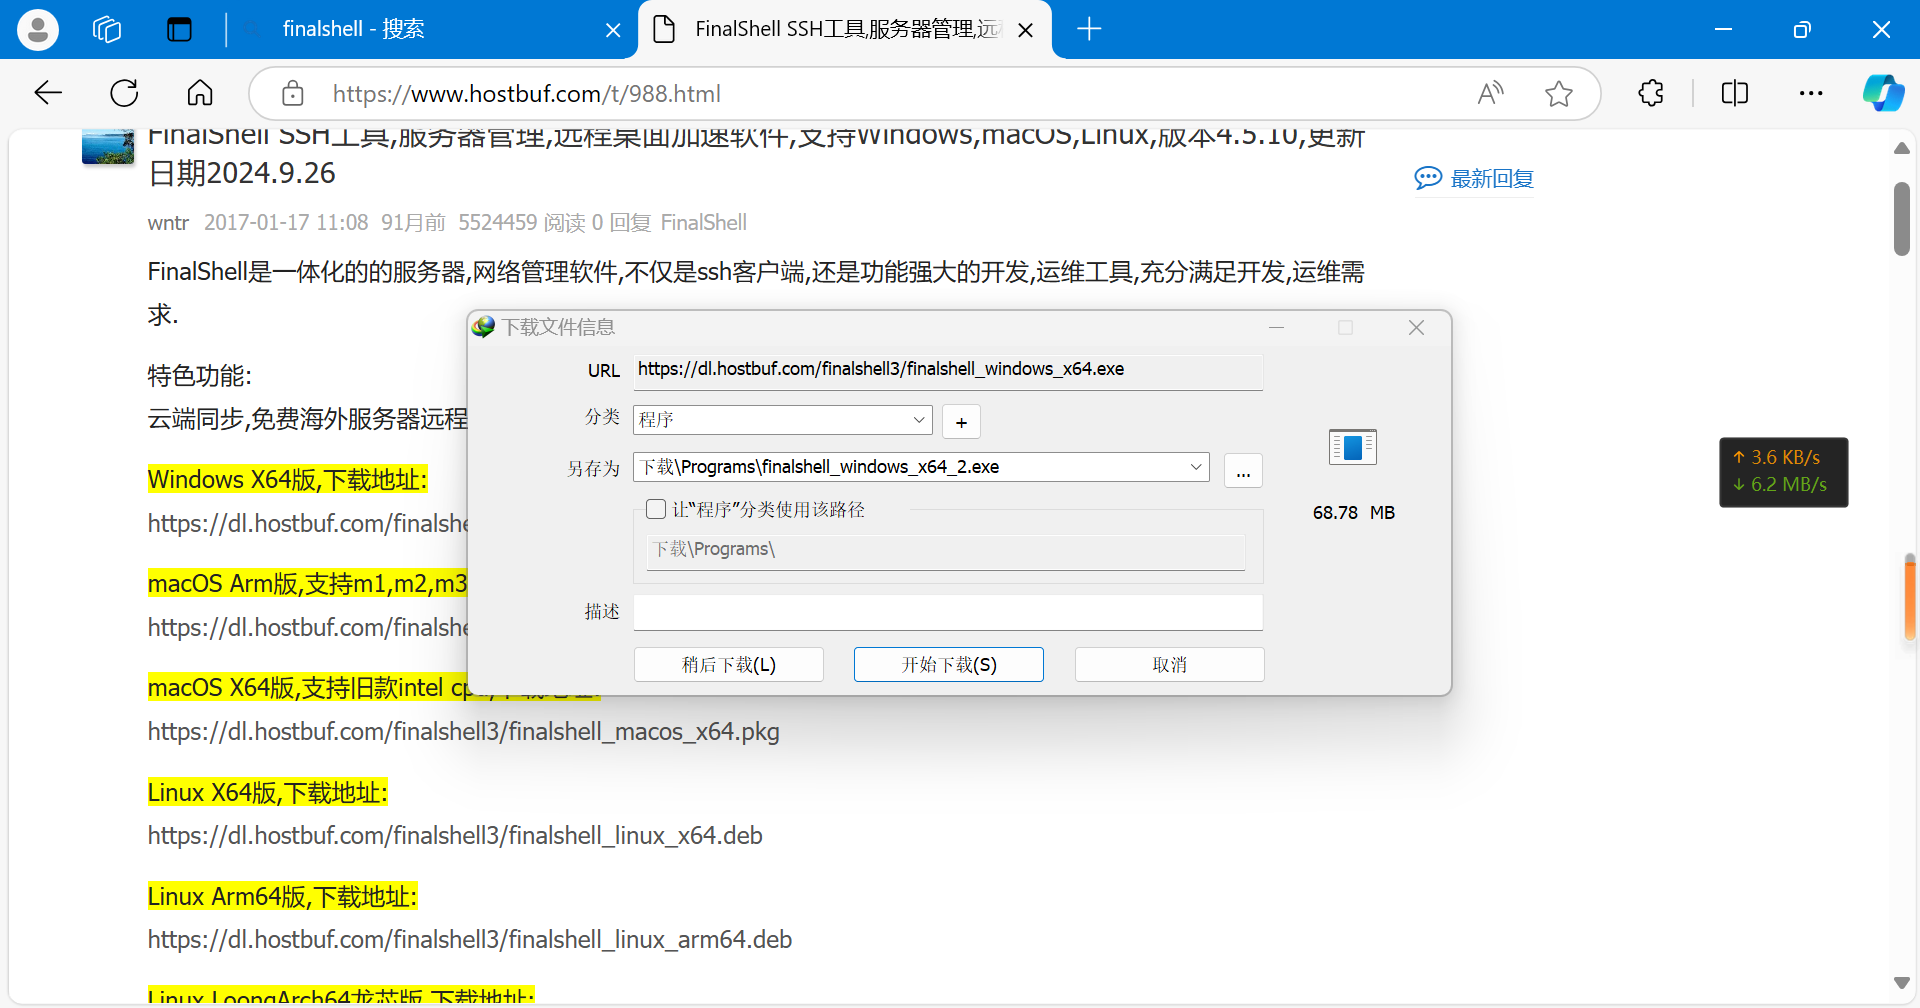
Find the version that matches your computer system, then download and install it
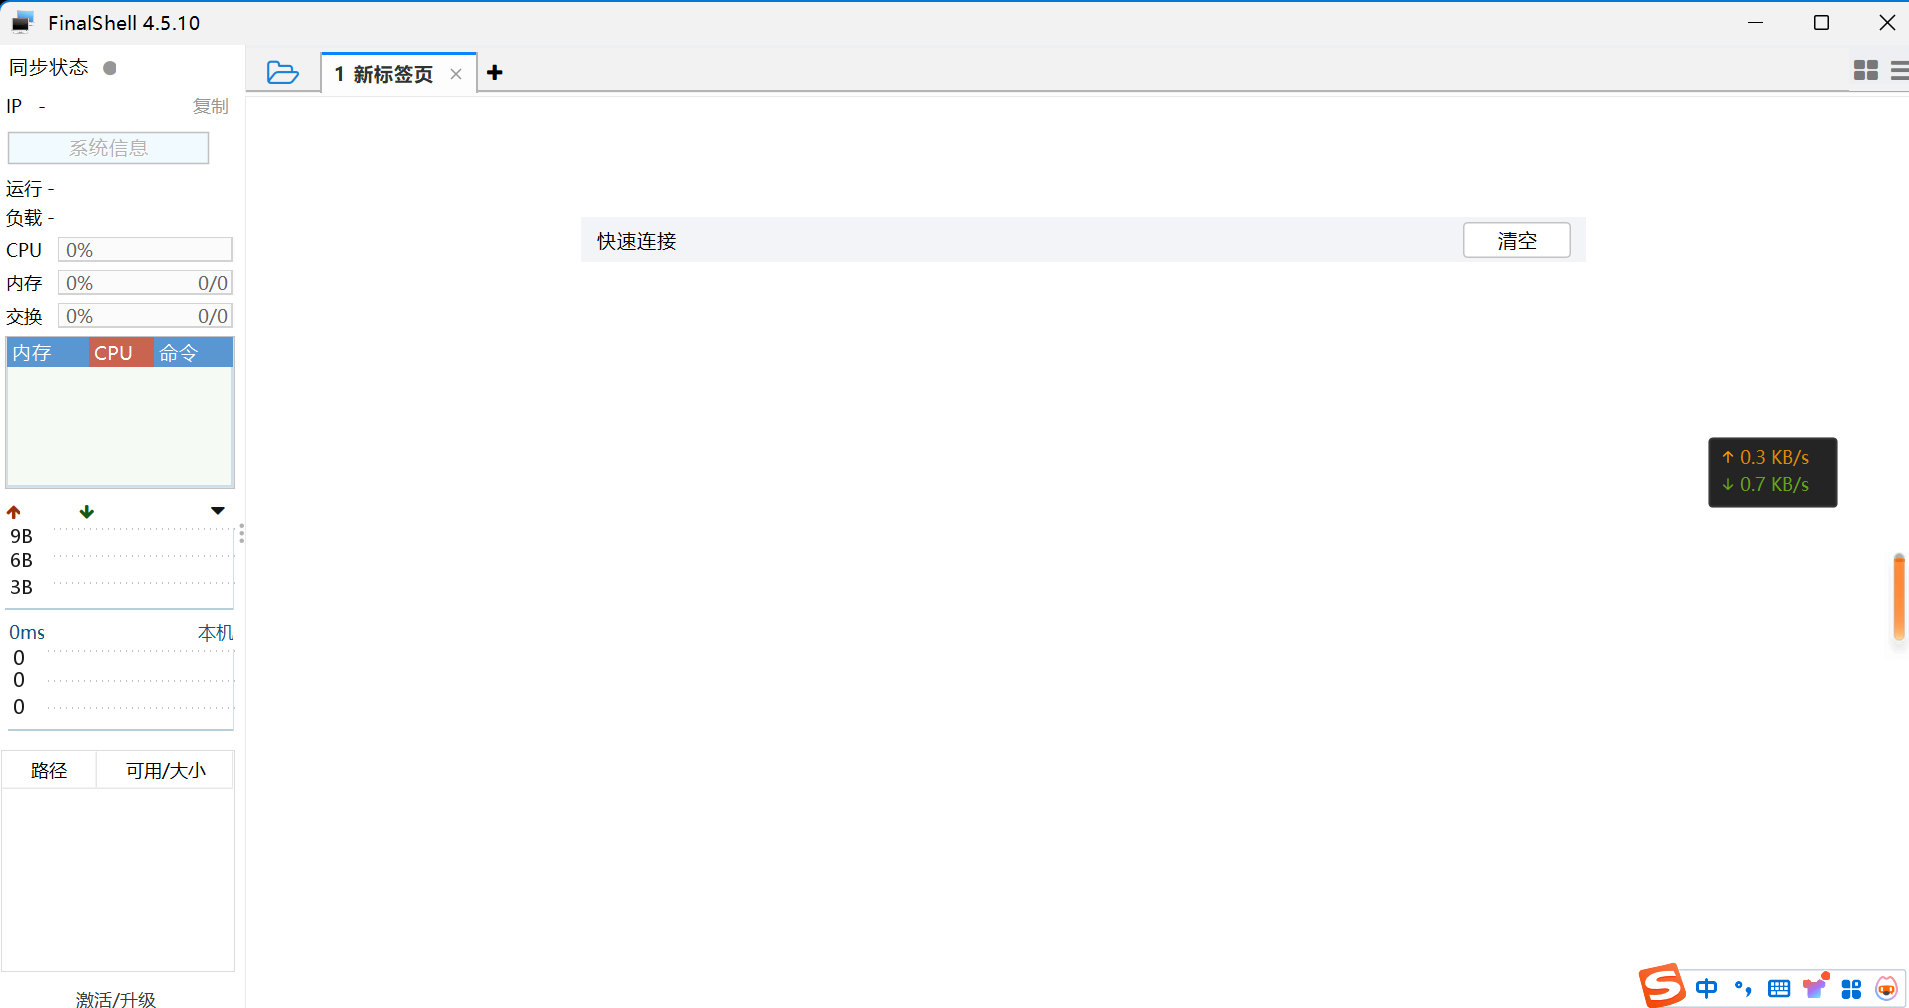
After successful installation, this page will appear when you open it
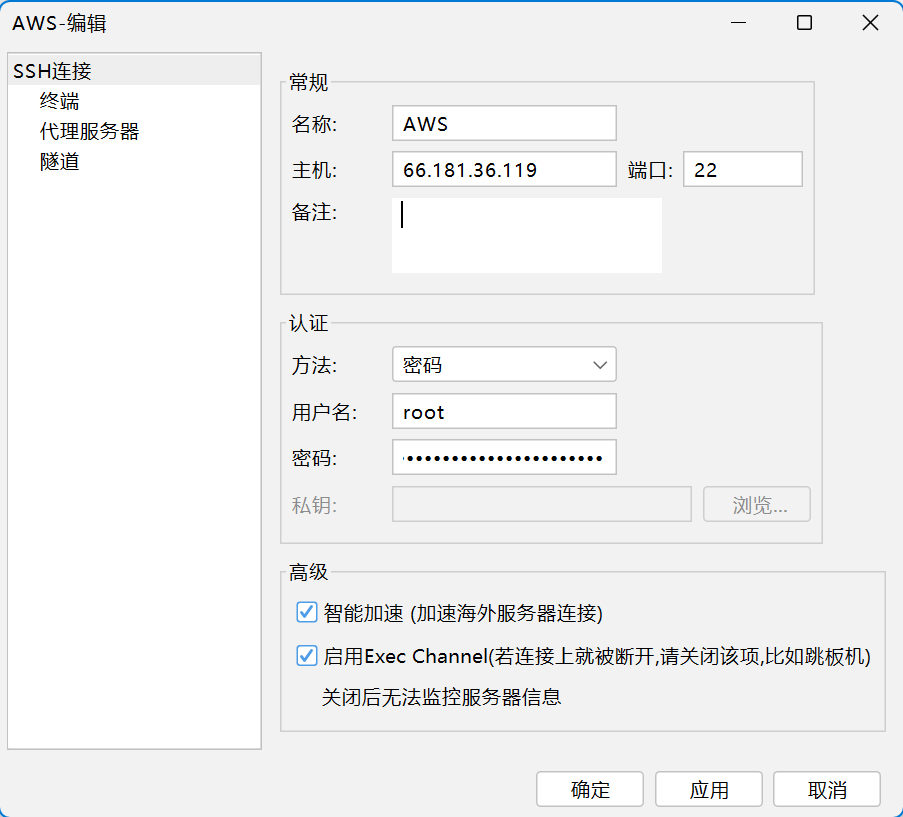
Click the upper left corner to create a new SSH connection. Enter the server IP for the host, default username is root, and the password is the key pair we just created
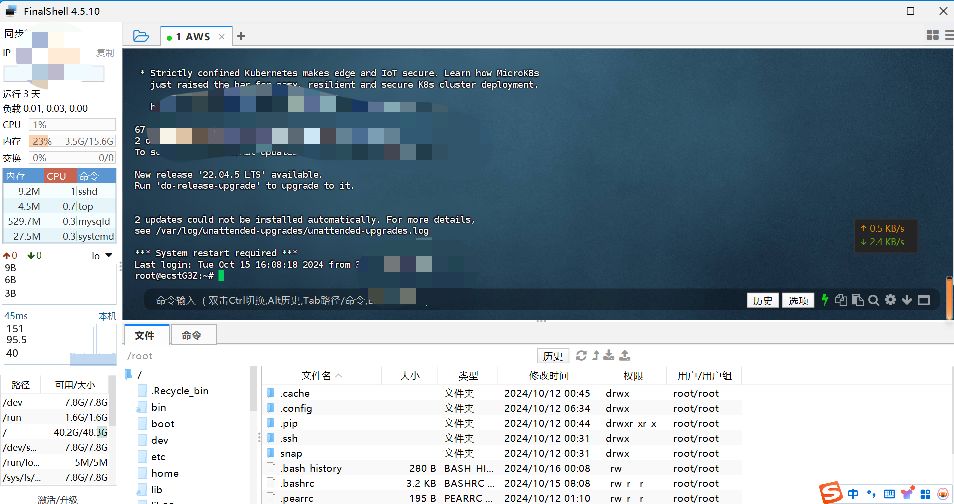
A successful connection is just such a page
Next, let's deploy the pagoda panel and visit the official pagoda website bt.cn
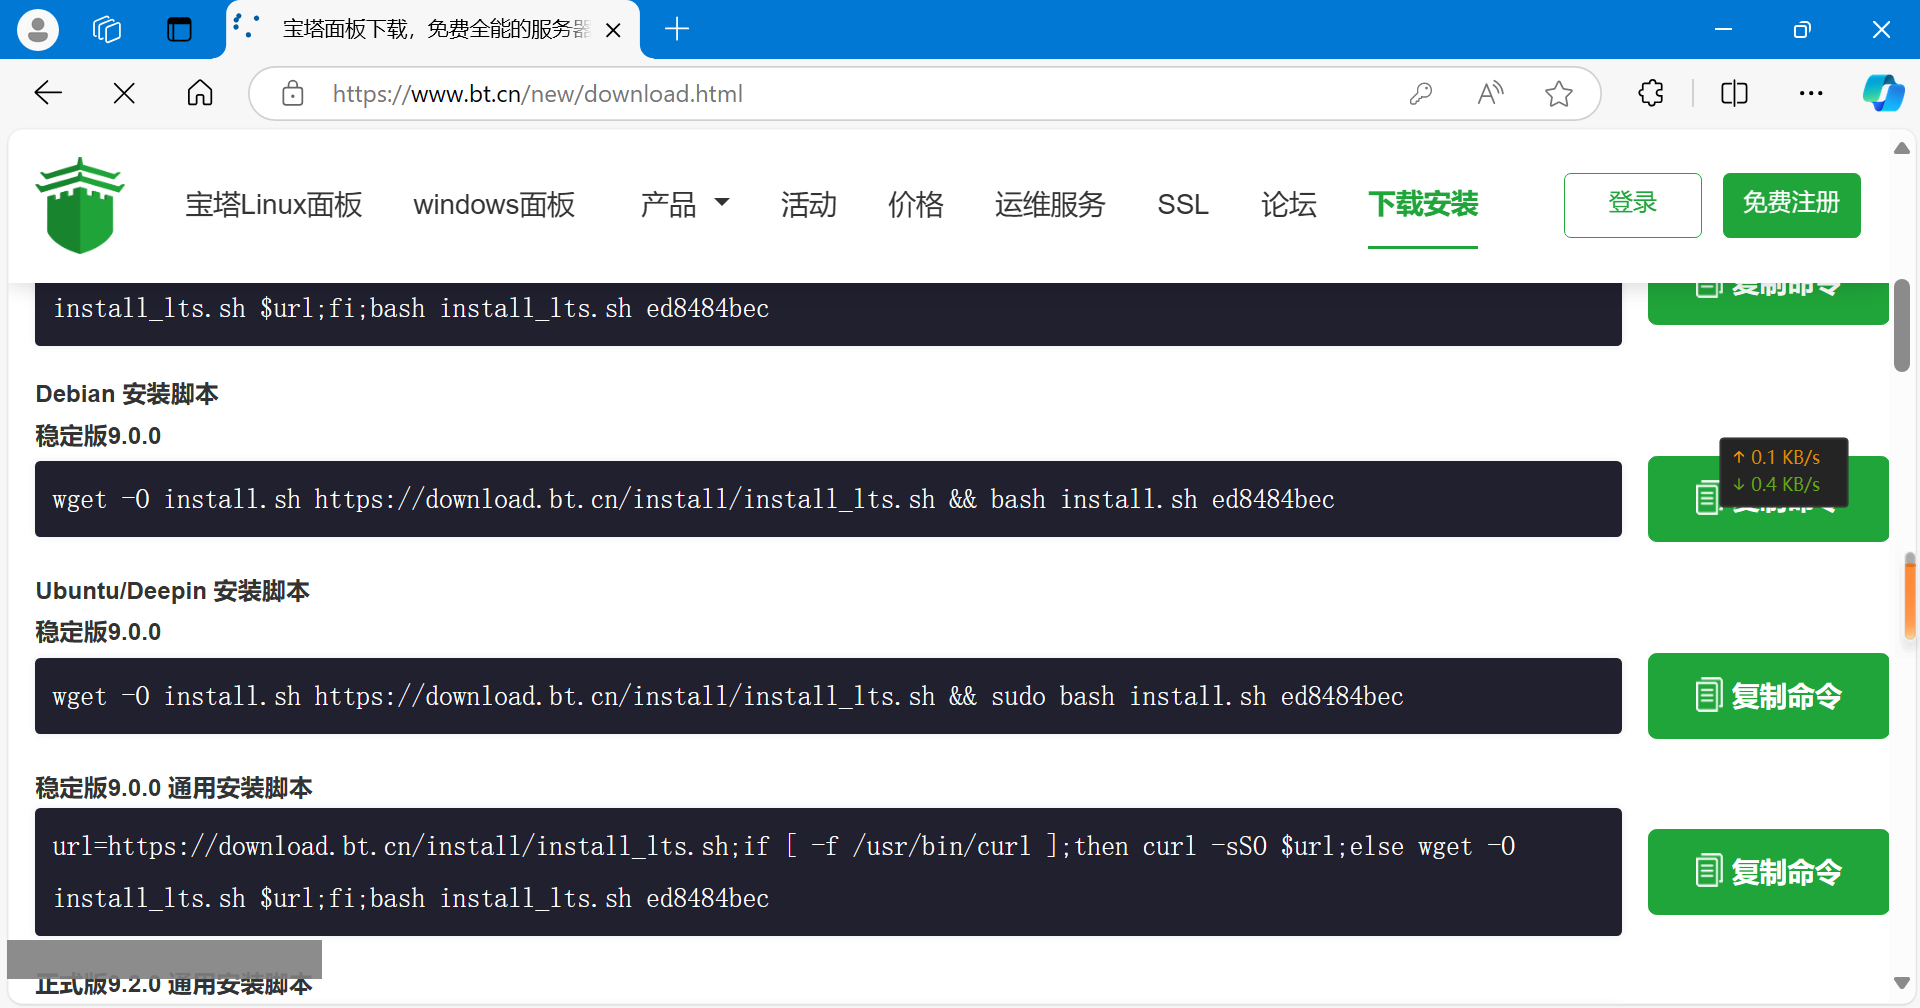
Find the one-click installation script corresponding to your server system, copy it, and paste it into the ssh command window
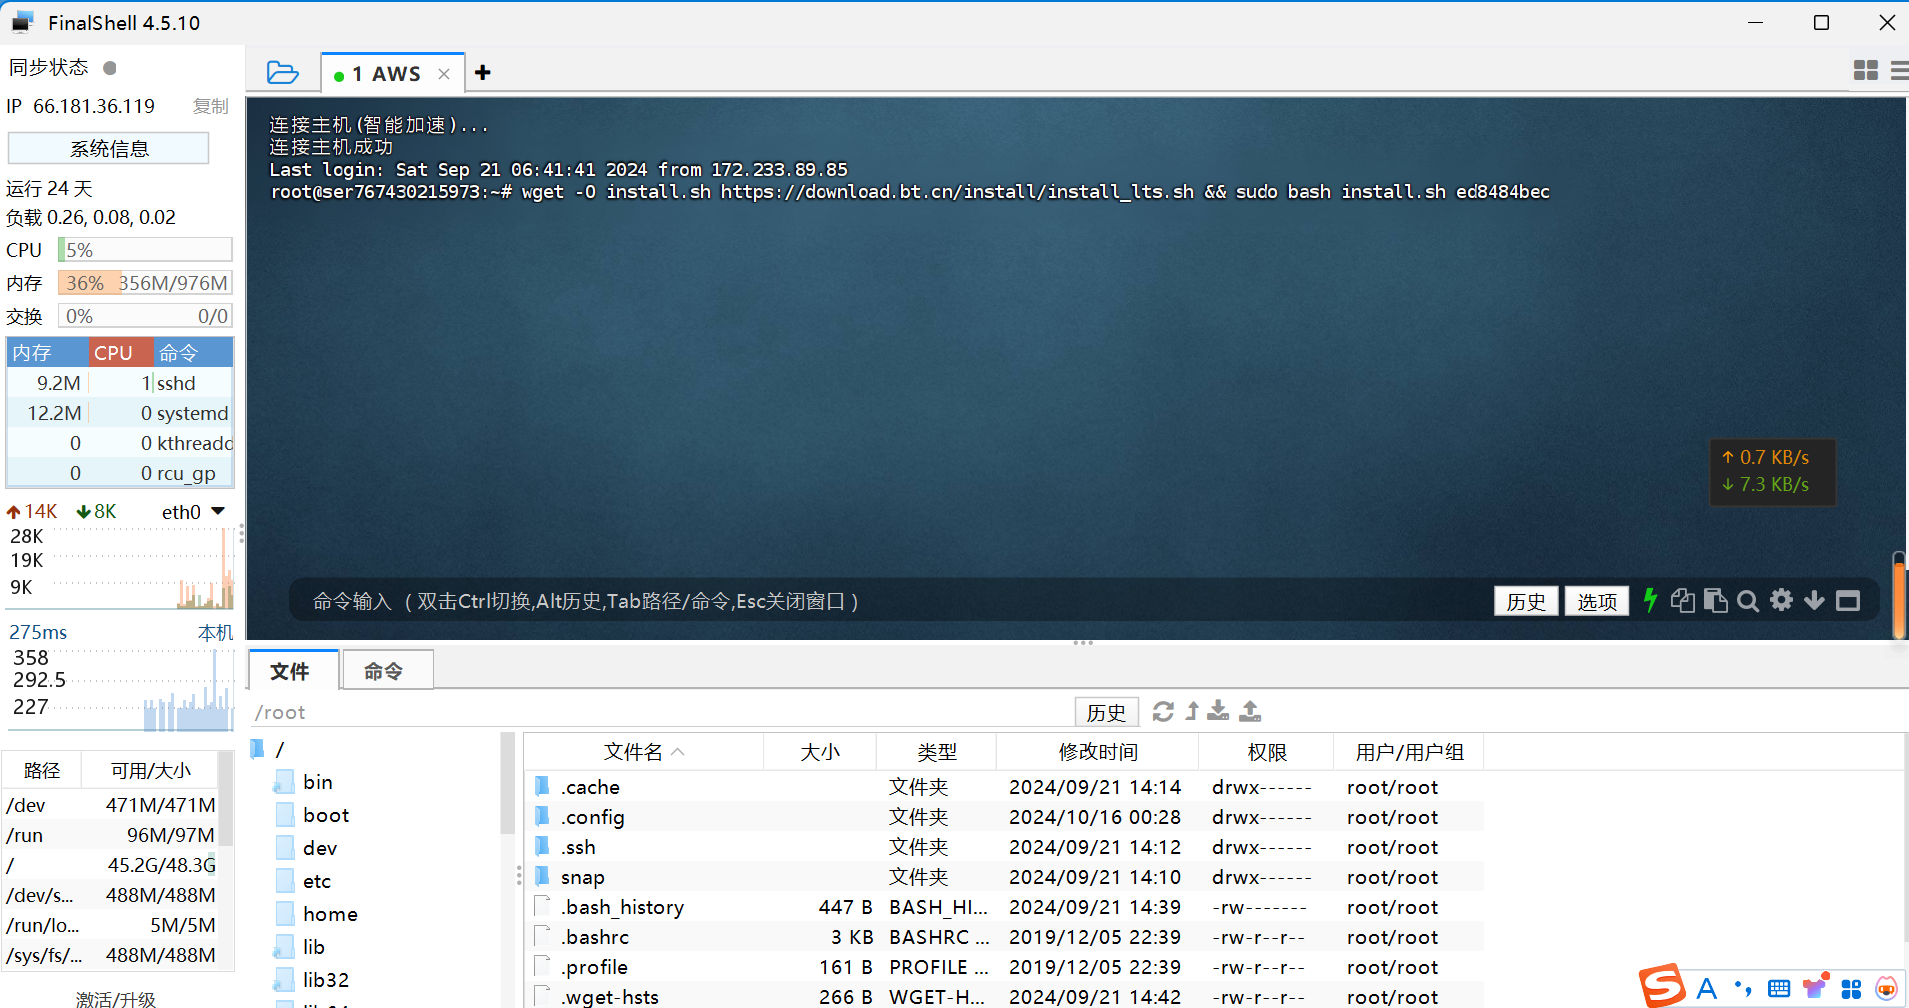
After press Enter, the script will start running
Note that the middle script will prompt once; enter y and press Enter
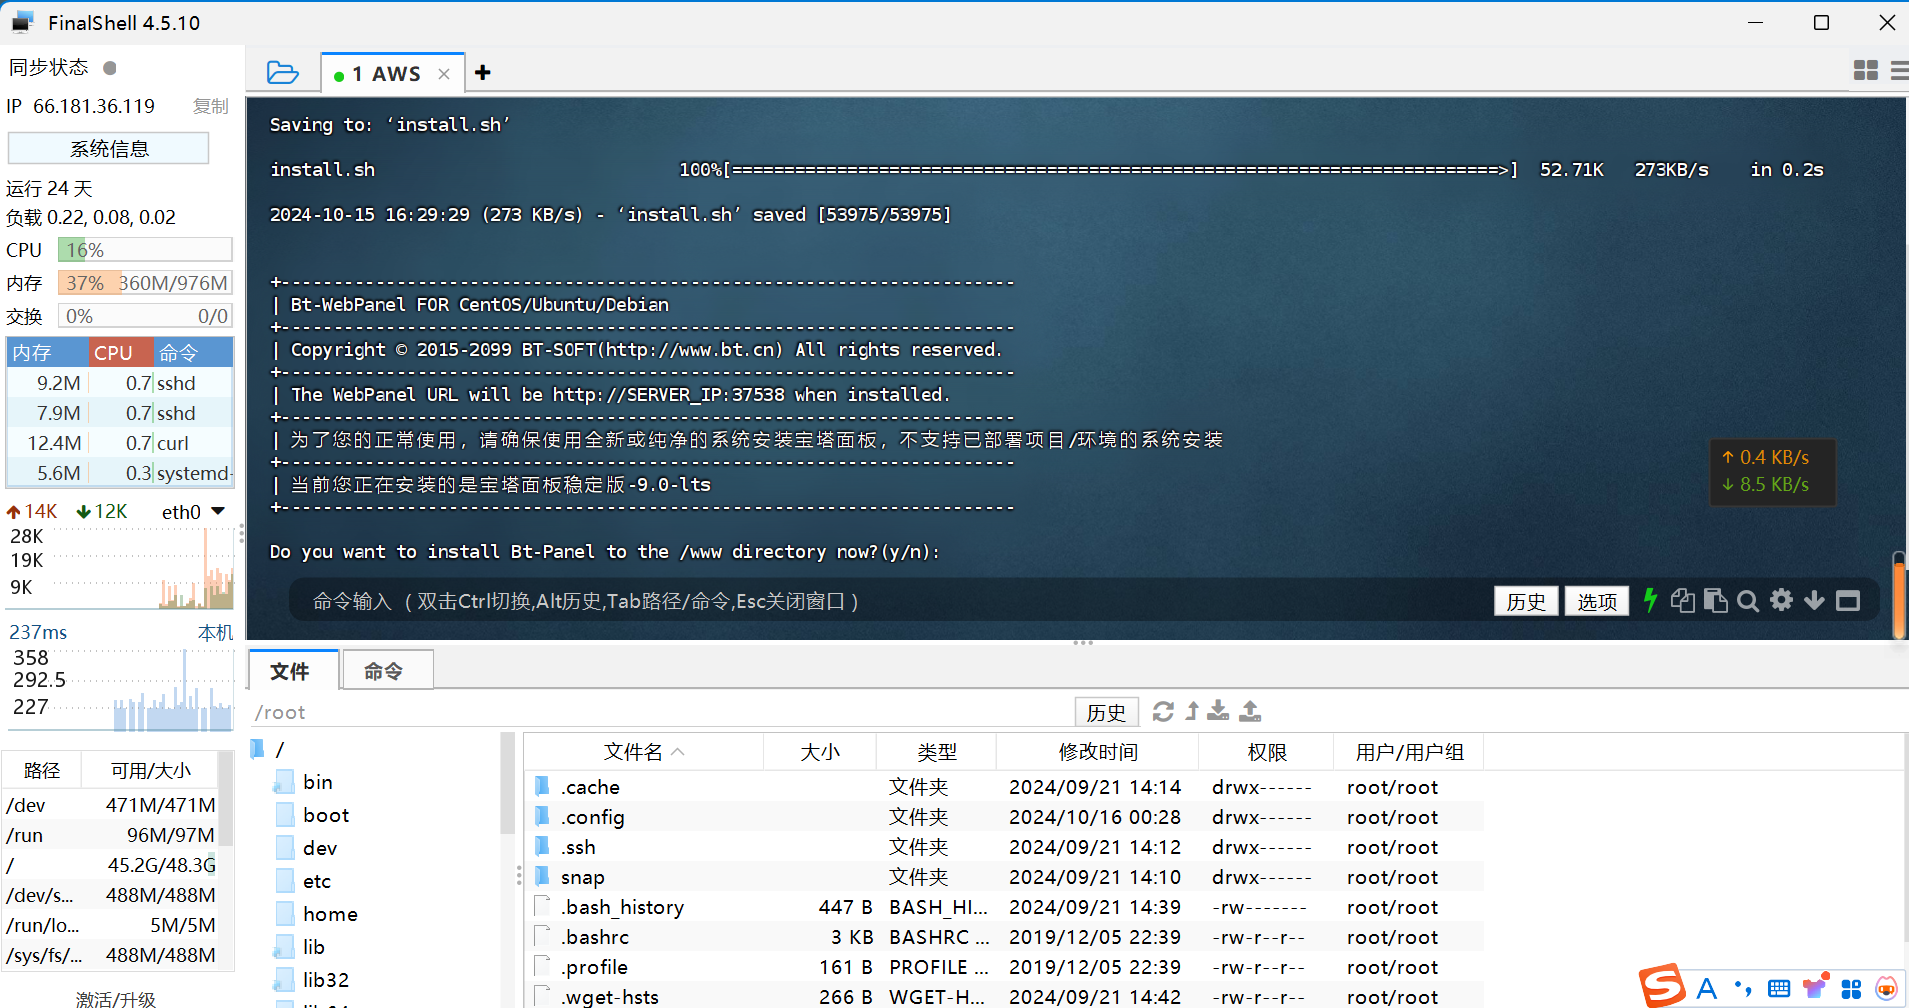
Waiting for installation
After successful installation, a panel entry and account password will appear
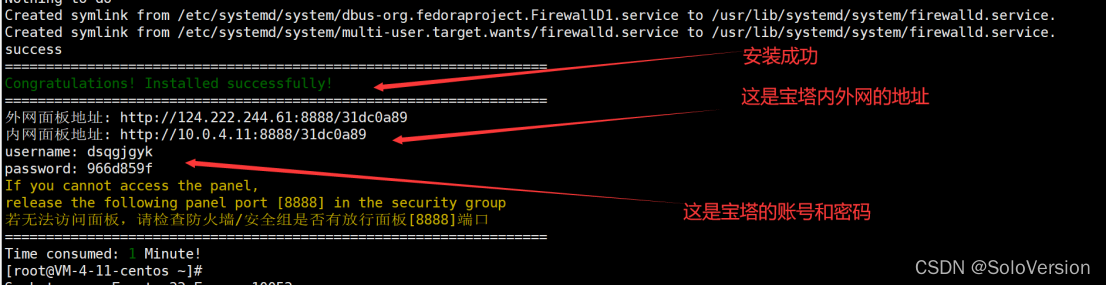
Copy it to your browser and open the login panel
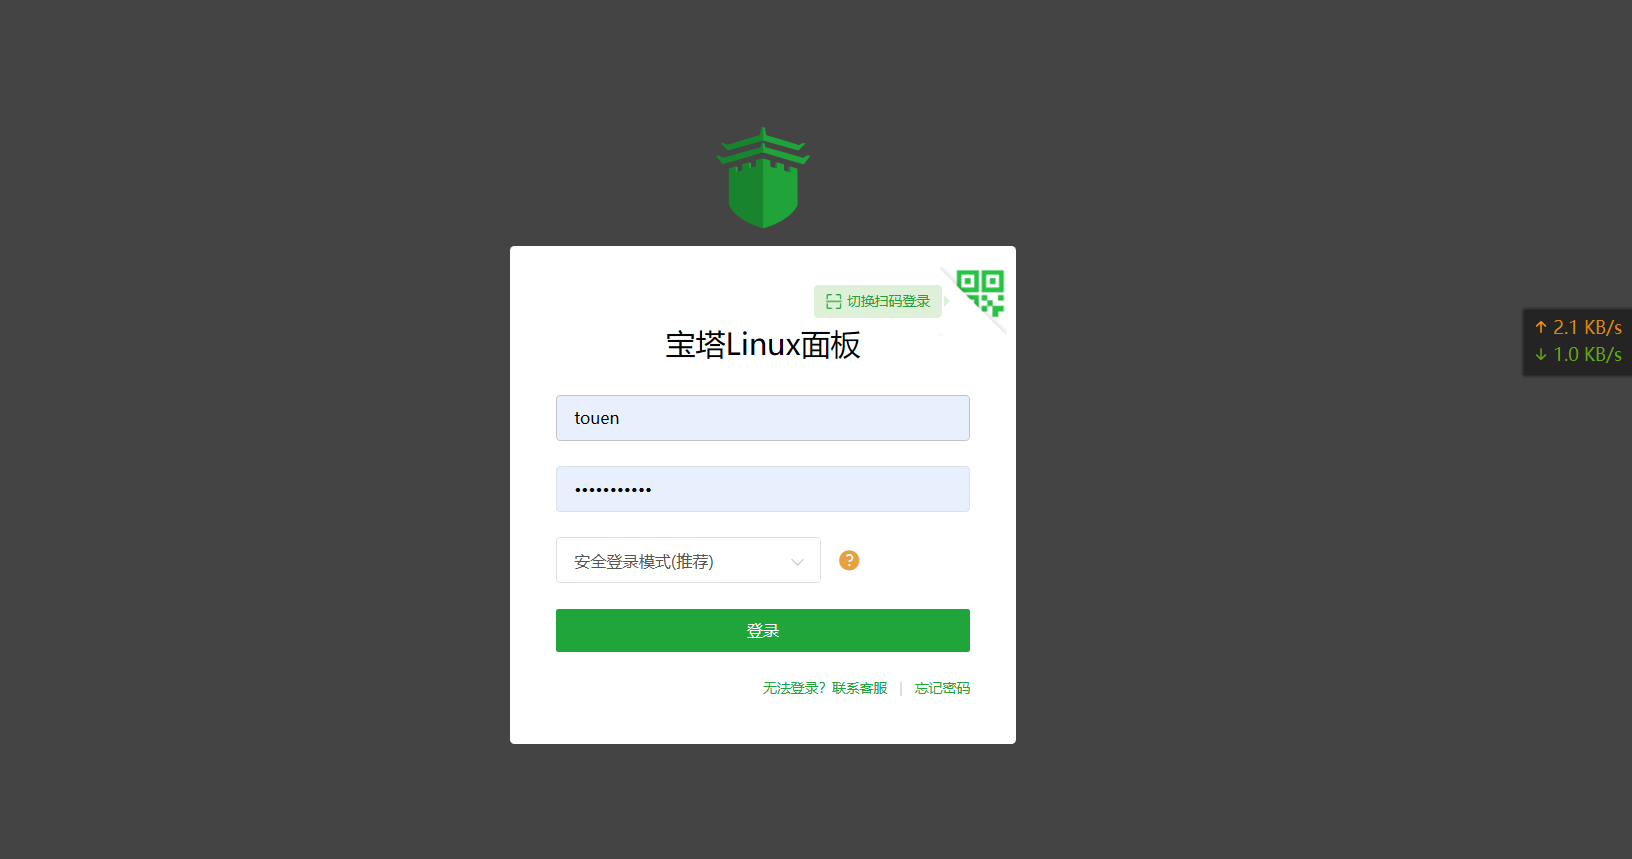
After logging into the dashboard, it will recommend you deploy the Web Services Suite
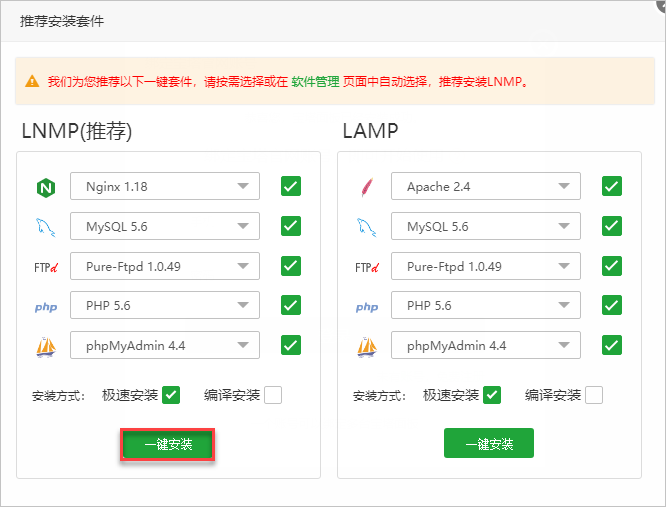
We select LNMP for one-click installation
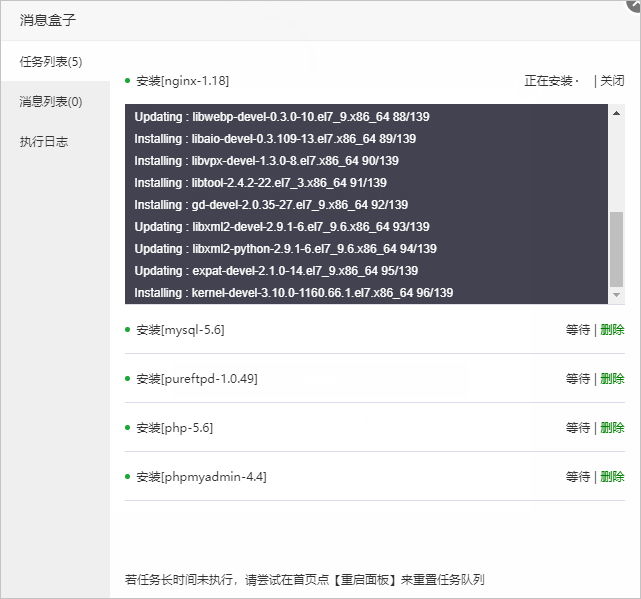
Please be patient while the deployment is complete
After deployment, click "Website" in the sidebar.
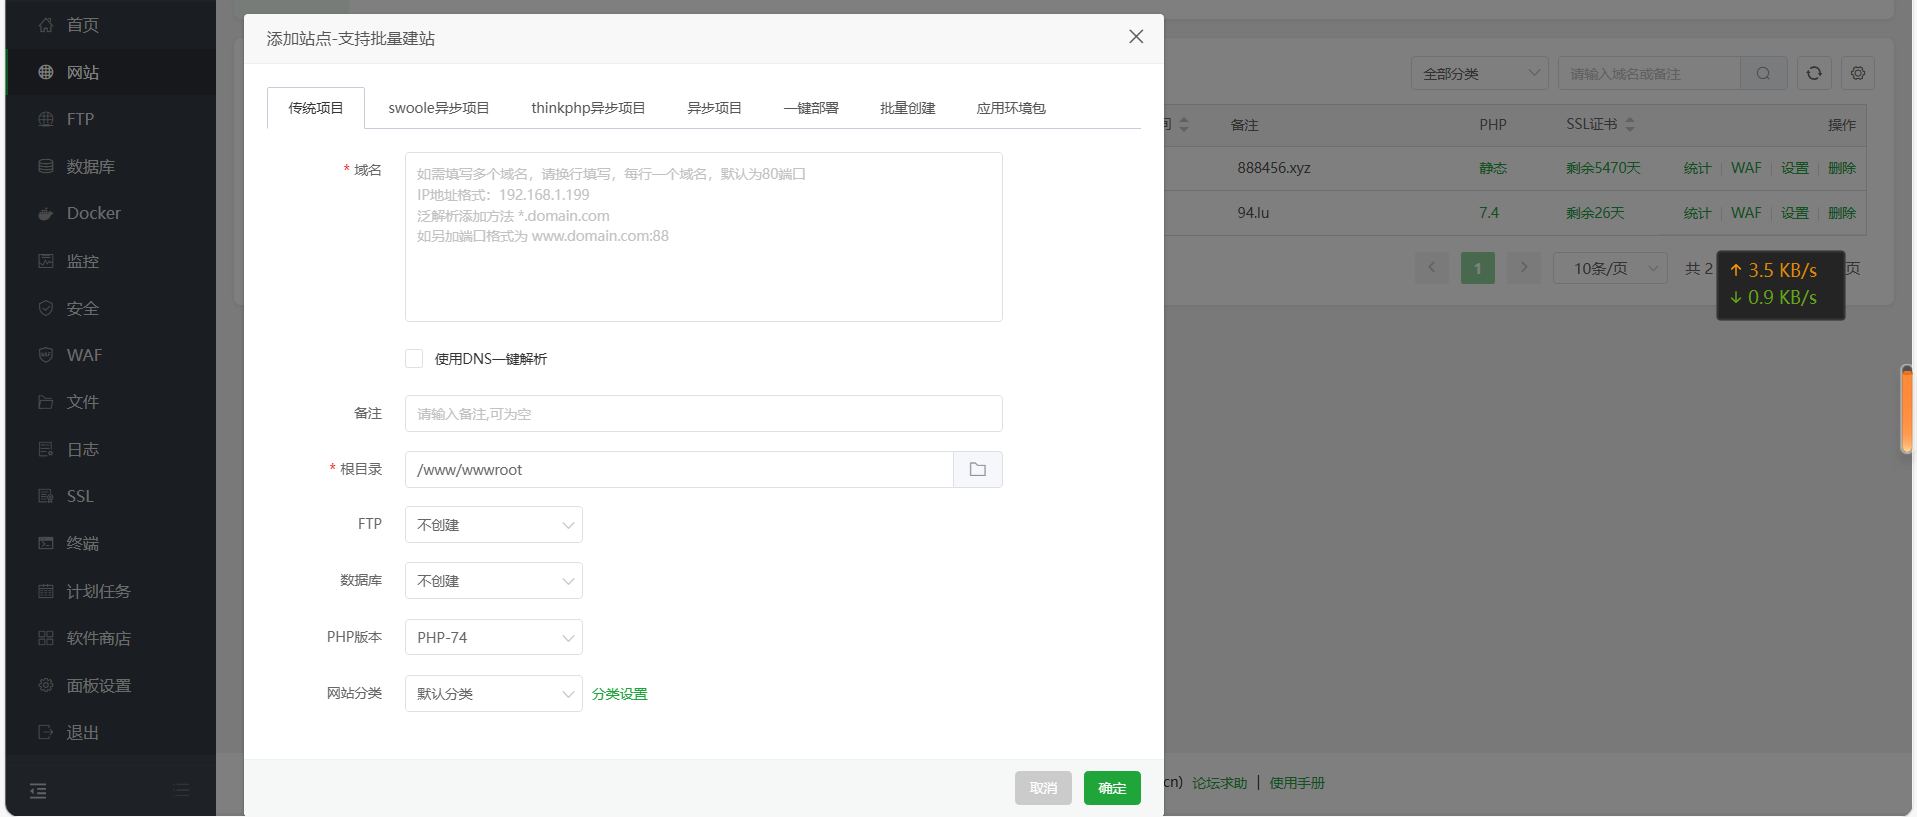
And choose to create a new website
Enter your domain name and create a new database
Next, let's download itdnsPolymerizationParse the source code of the program
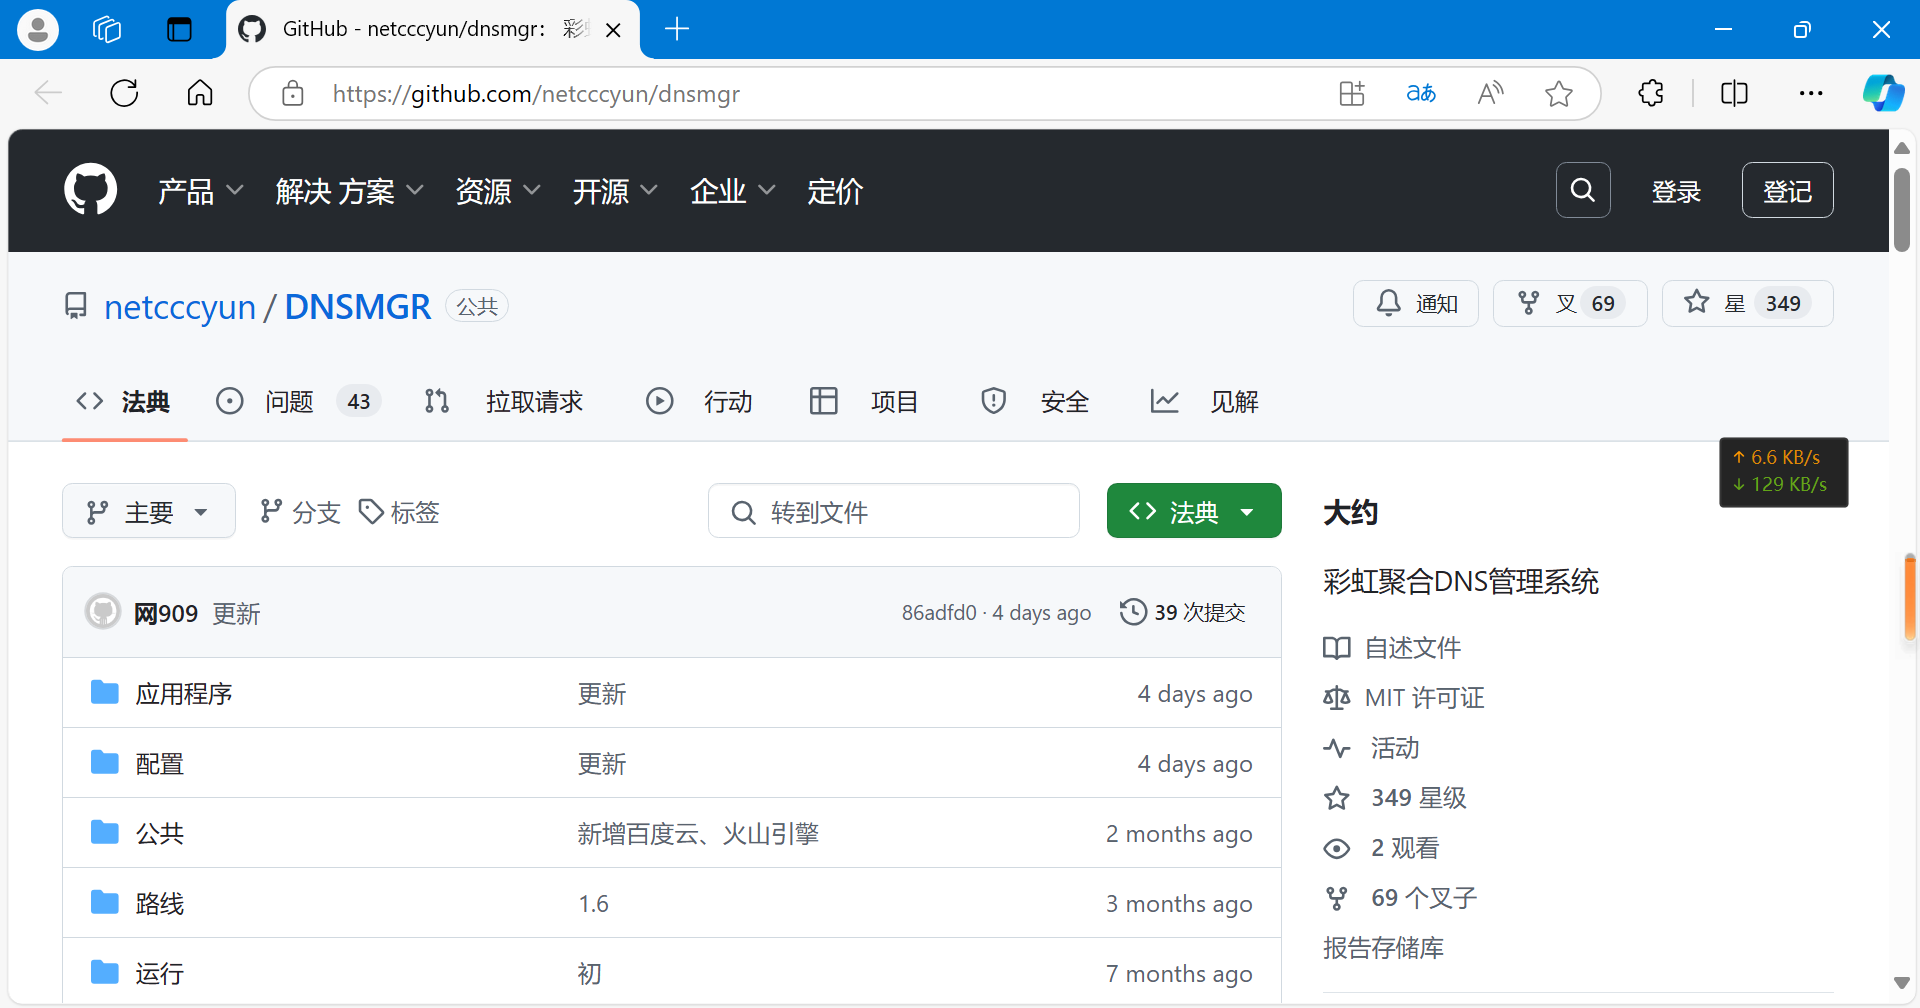
Access address:Source code link
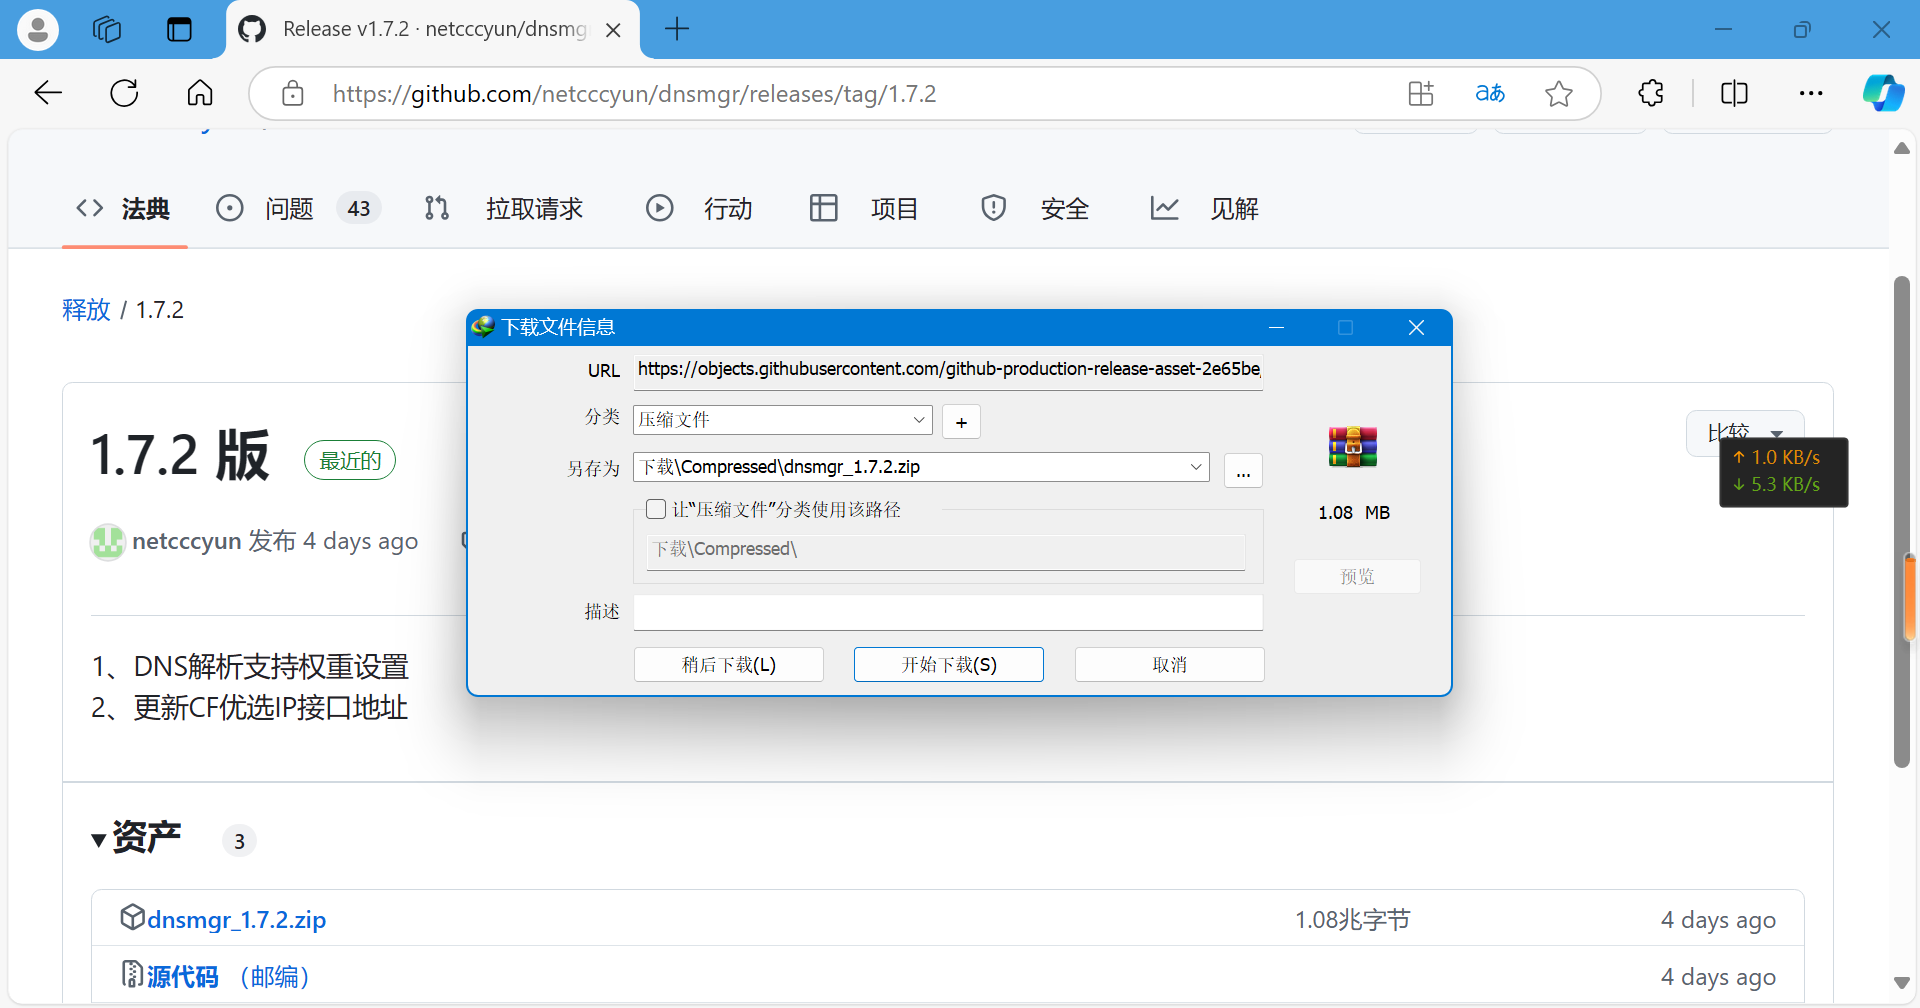
Click to download the source code compressed file
Then upload the downloaded compressed file to the Pagoda directory
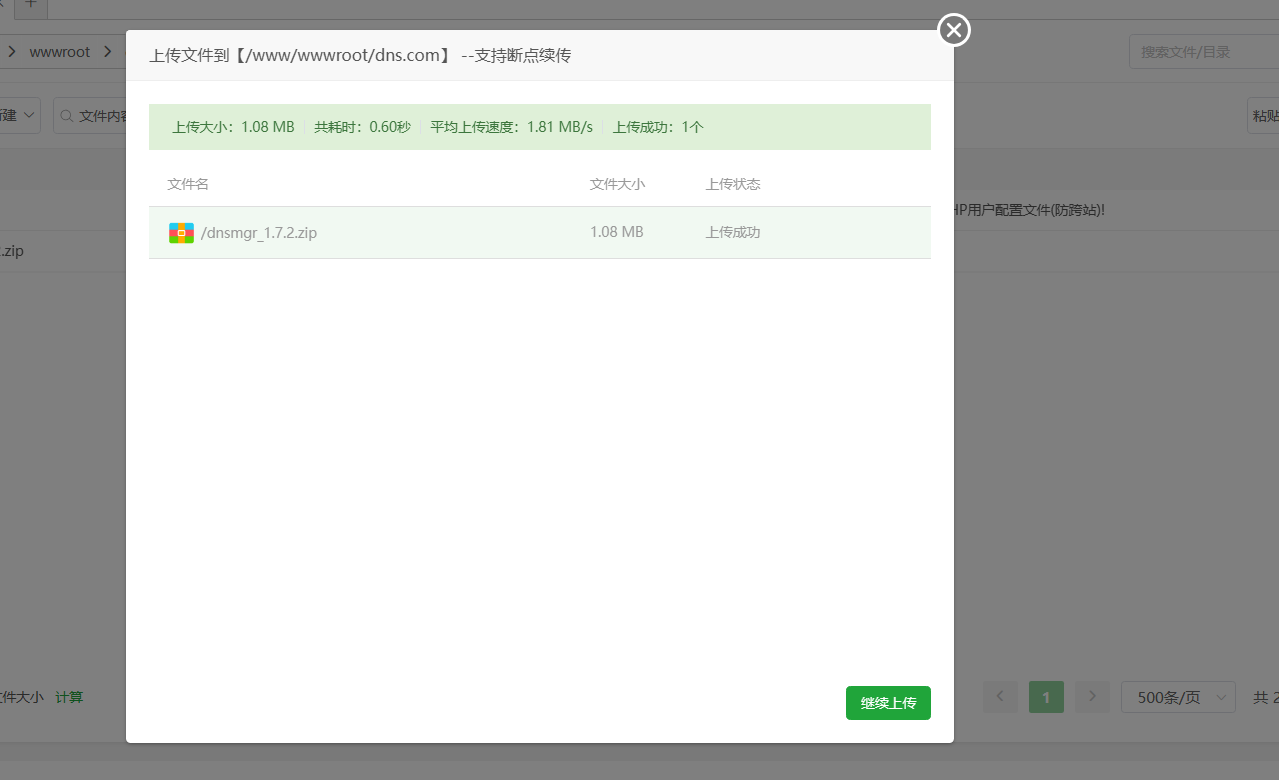
After uploading, extract to the directory
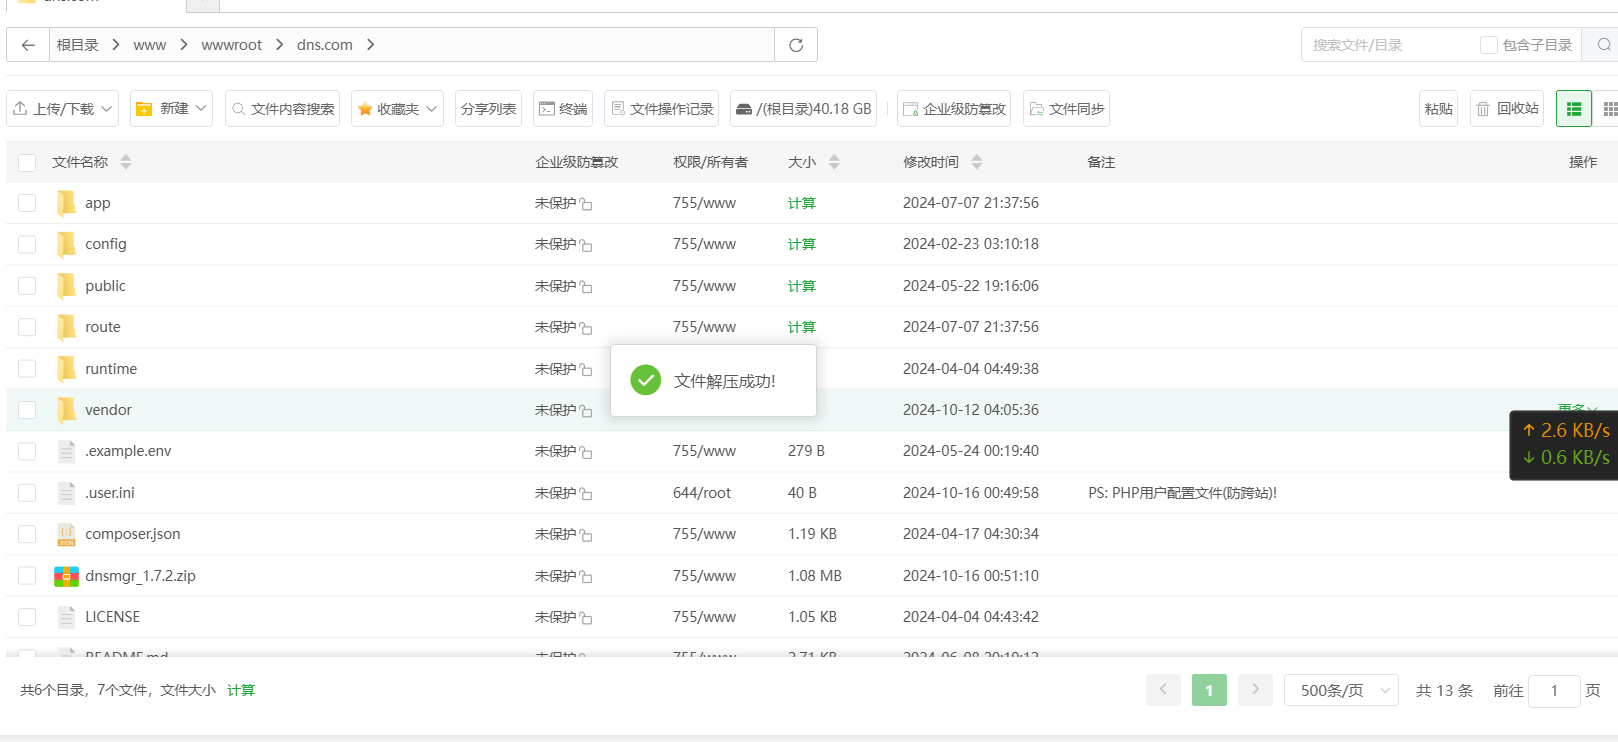
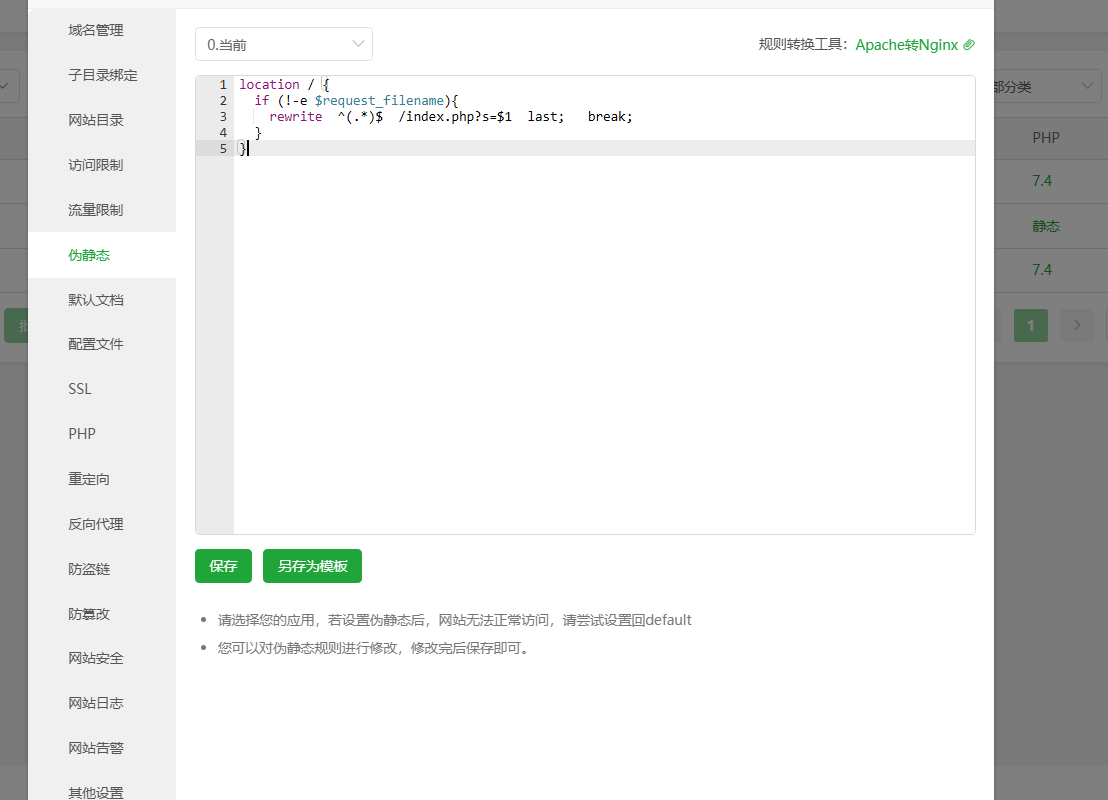
After extracting successfully, you also need to set the running directory and pseudo-static settings
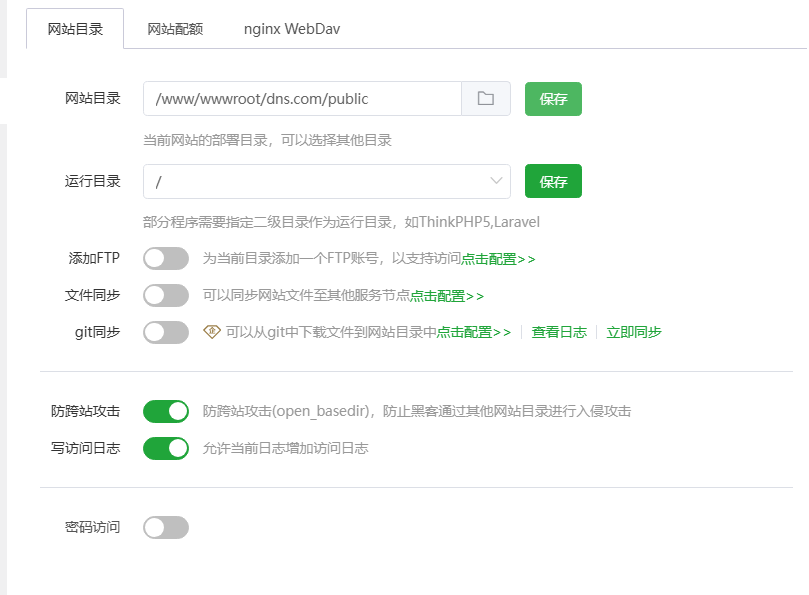
Set the website runtime directory to the /public subfolder
Also, based on the installation documentation on GitHub, set corresponding pseudo-static settings
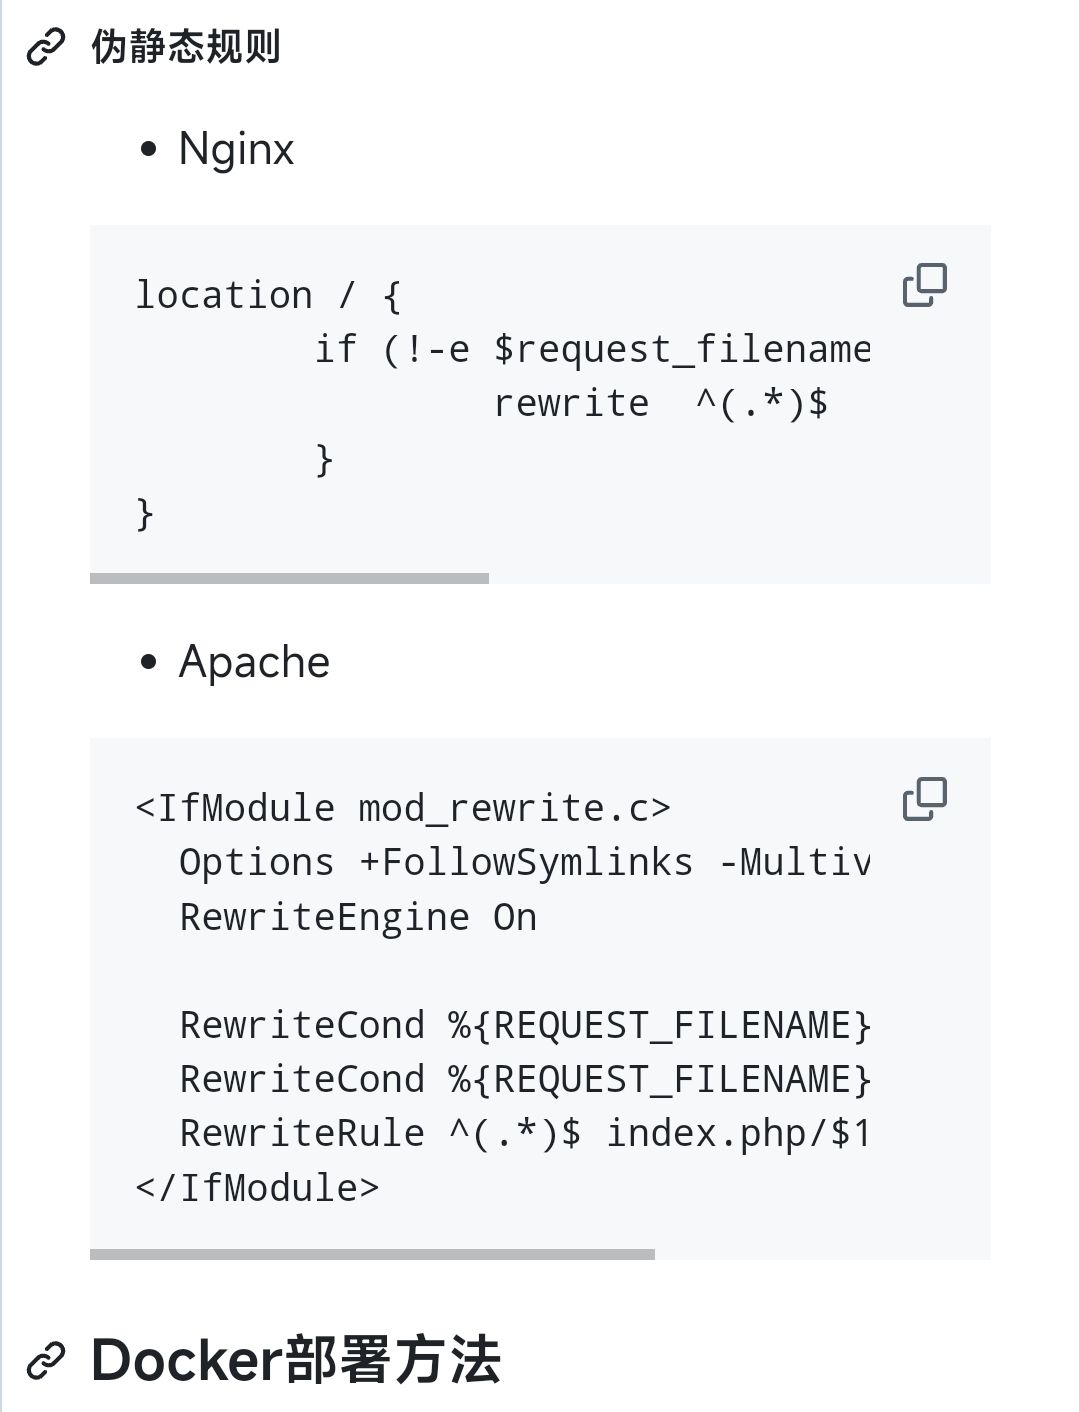
We chose the nignx environment, so the pseudo-static rule should be
location / {
	if (!-e $request_filename){
		rewrite  ^(.*)$  /index.php?s=$1  last;   break;
	}
}
Copy it to the pagoda and paste it into the pagoda to save
Next, visit the website's domain name and go to the /install installation page
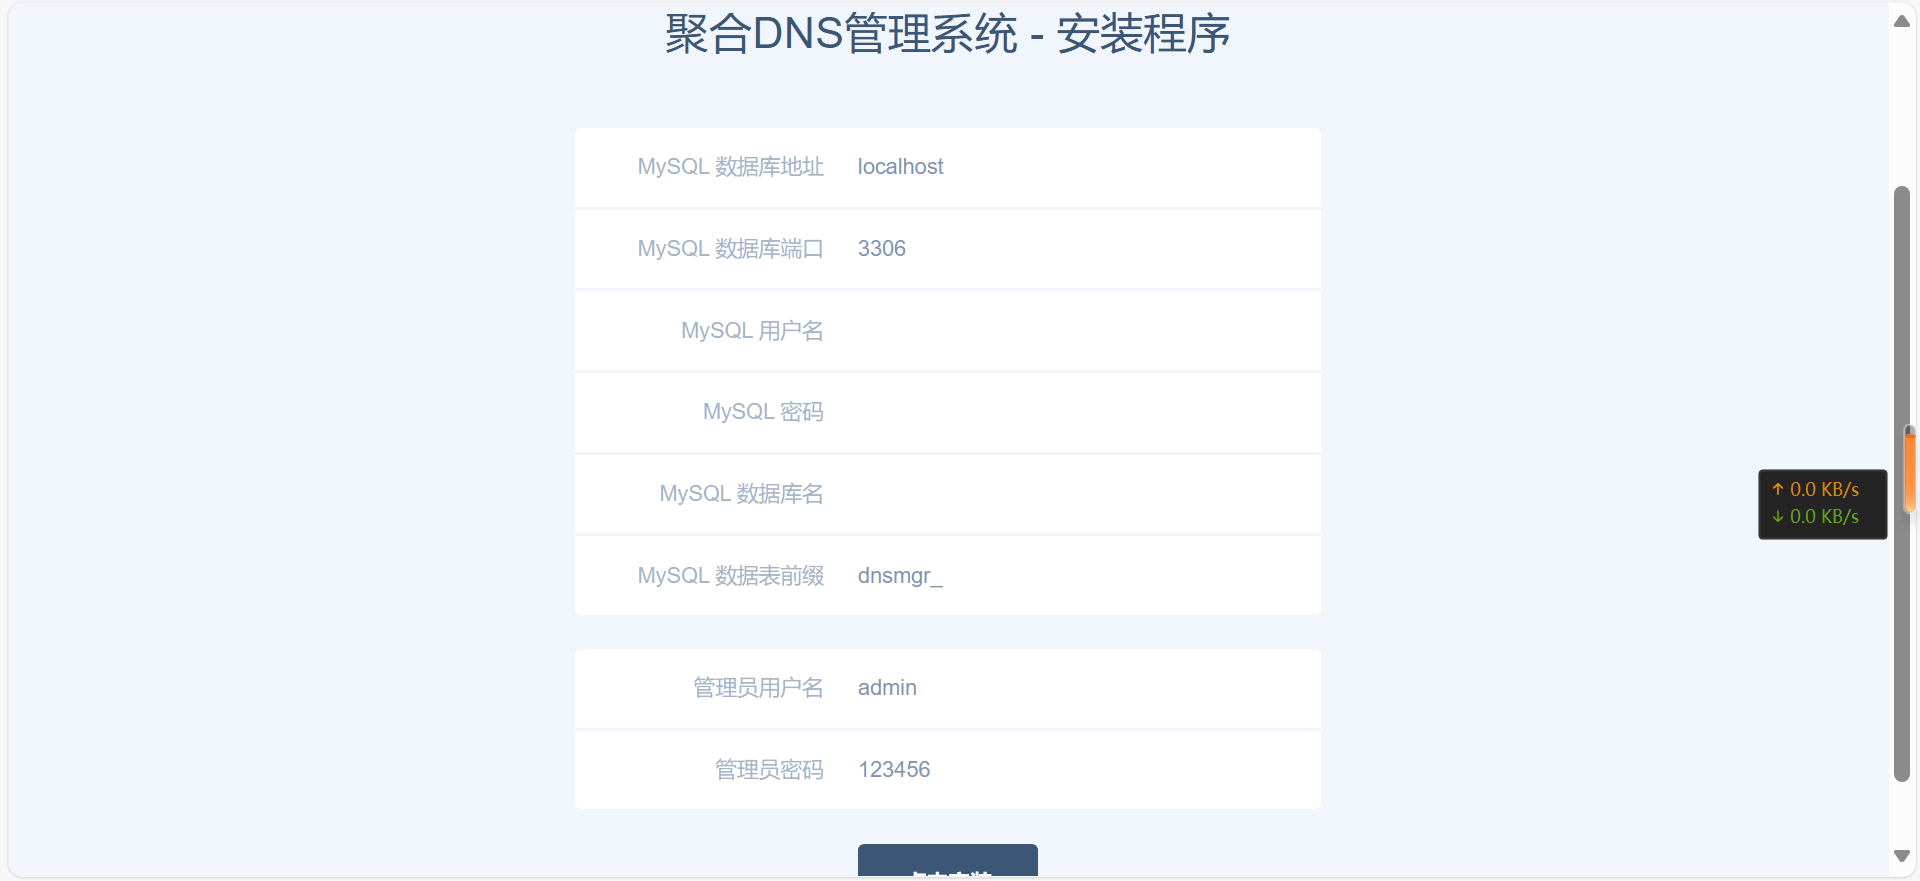
Enter the previously set database information and click Installer
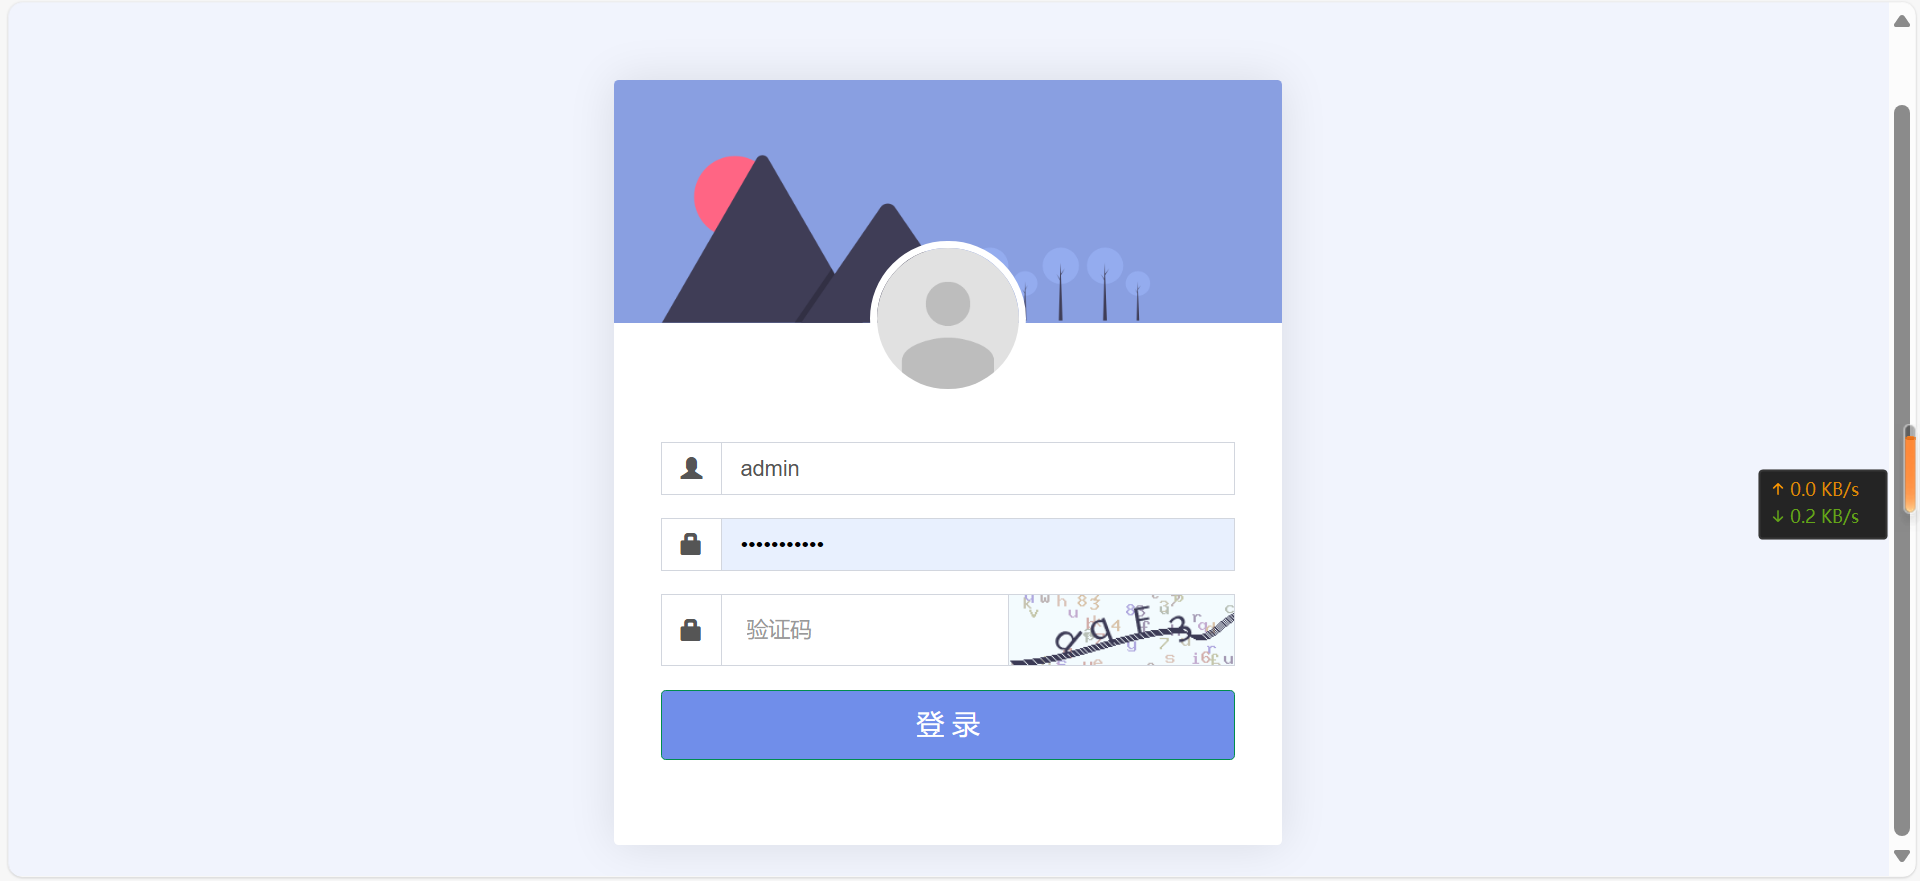
After successful installation, a login page will appear. The default account is admin, password is 123456, and you can enter login. Remember to change the default password in time
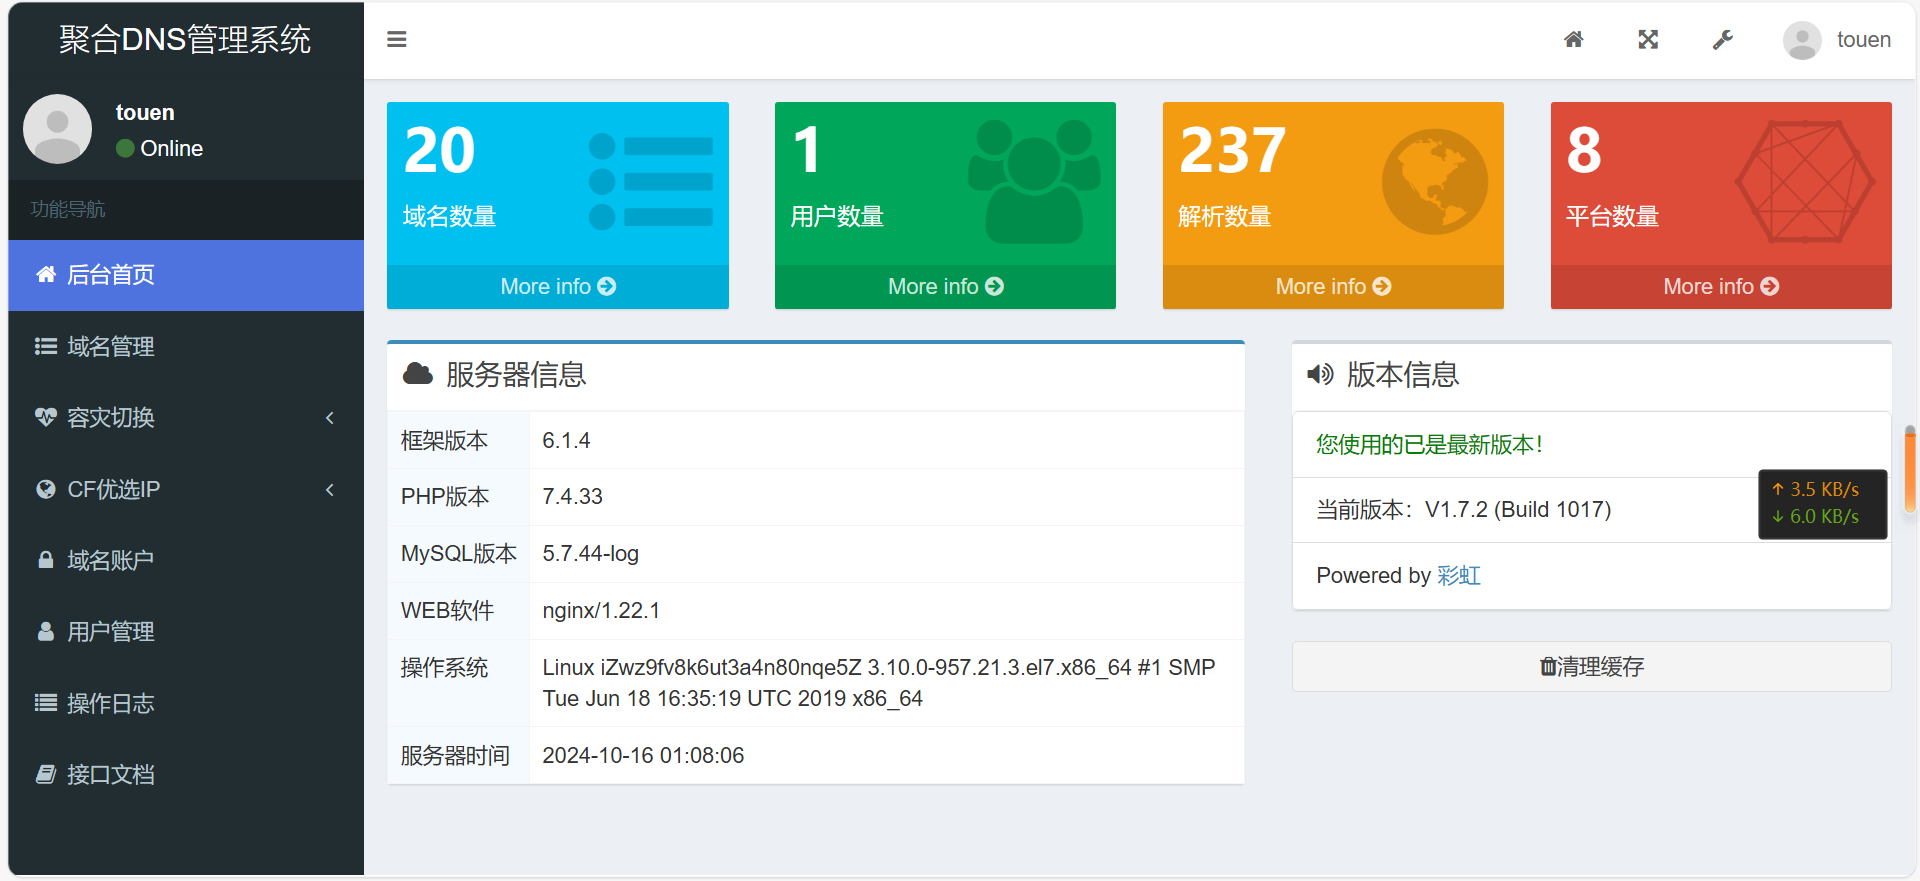
After entering, the default page looks like this
Click the sidebar domain account to add the ID and key of the official platform
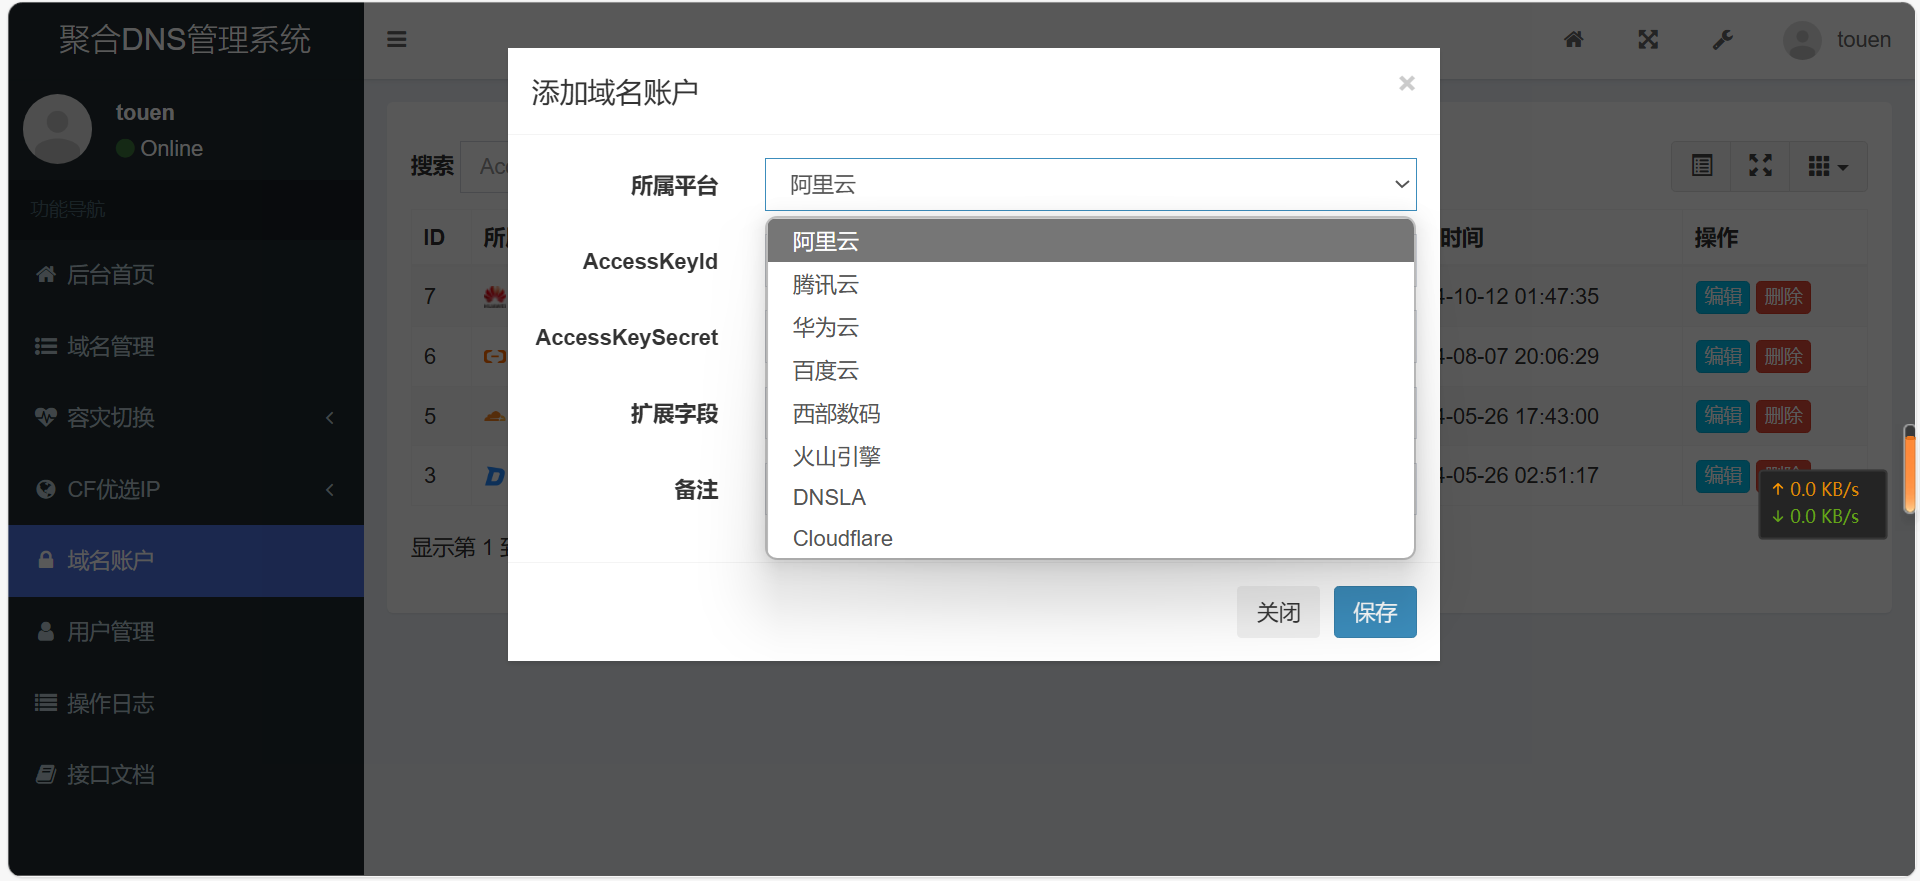
The official explanation for how to apply for a key is detailed here, so it won't be repeated here
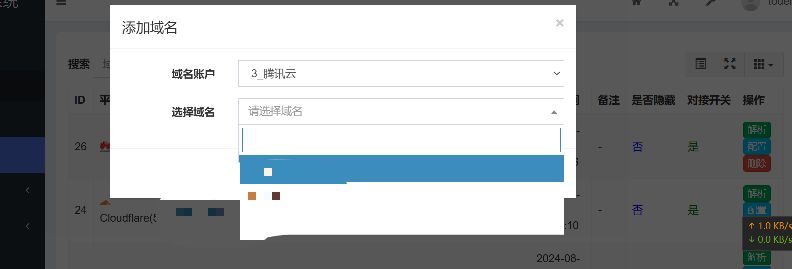
After adding the domain account, we can add the domain name
Aggregated DNS resolution management has many more features to explore on your own
For example, one-click use of CF preferred IPs, setting disaster recovery policies, automatic switching resolution of website access abnormalities, and so on
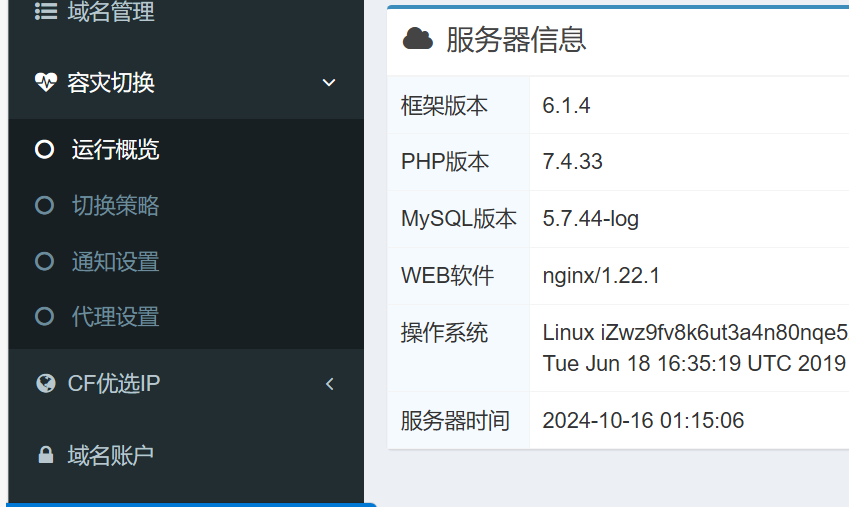
This tutorial ends here. Thank you for watching
![[Open Source Reading] January 2024 ≈ 400 carefully edited book source compilation and update - Baiyun Blog](https://www.bybk.cc/wp-content/uploads/img/af867764c3780f0b7da88376fca7bf92.png)
![[Open Source Reading] November 950+ carefully proofread book source compilation and update - Baiyun Blog](https://www.bybk.cc/wp-content/uploads/2023/02/Screenshot_20230222-1001582-1024x593.png)
![[Open Source Reading] October 1300 Book Source Update - Baiyun Blog](https://www.bybk.cc/wp-content/uploads/img/1eeb6ae31cde88ab39faa2f19651638d.jpeg)
![[VMOS PRO 2.9.6 Member Edition] - Baiyun Blog](https://www.bybk.cc/wp-content/uploads/img/c303a7a50d3ebfa235cc380190db2980.png)




No comments yet