
Original link:https://www.coolapk.com/…
The following contains a large number of images and text
NAS(Network Attached Storage). Some people may have heard of it but don't know what it is. You can think of it as a file memory, server, etc.—essentially, it's just one deviceComputer, according to usage needsOptimizationImprovement
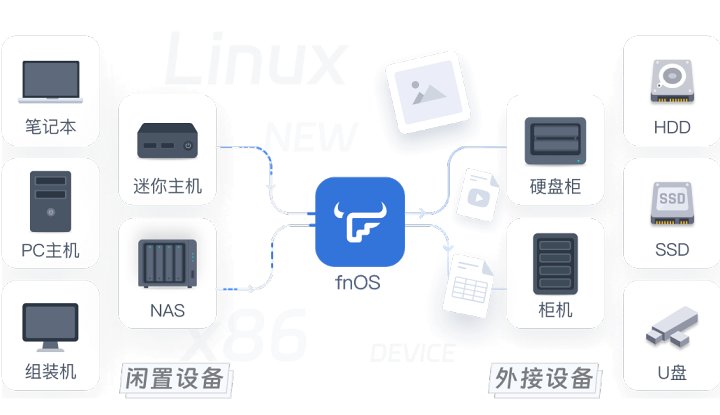
This also means outdated equipment is being phased outNotebookand similar things can also be called NAS
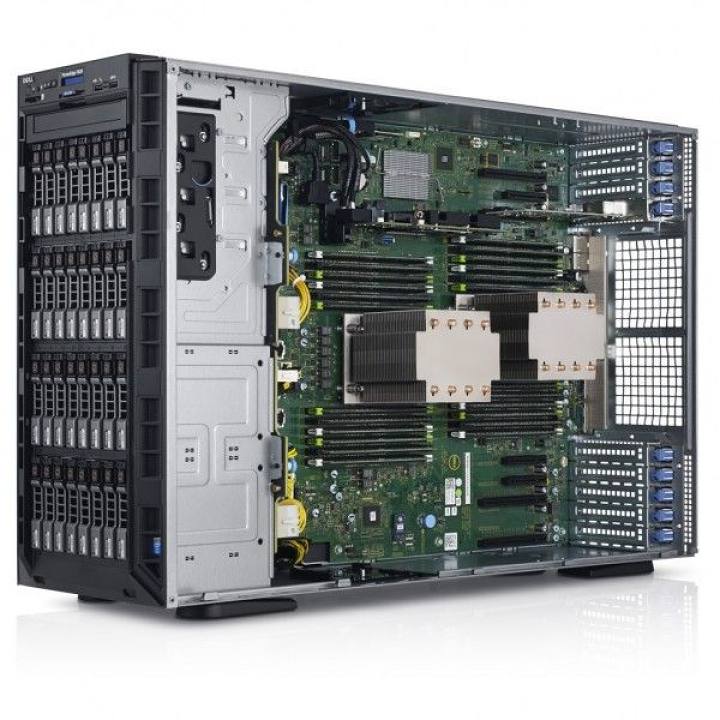
Workstation
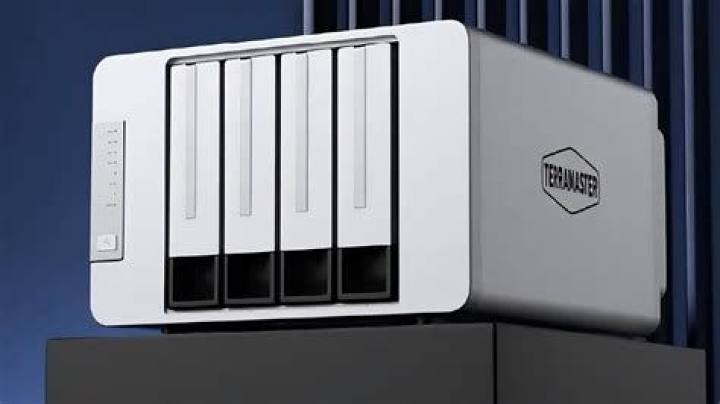
Brand

From an ordinary person's perspective, the NAS can be considered a local cloud drive, so you don't have to worry about data leaks. You can store photos, videos, study materials, and so on. This issue will focus on the systemInstallationand was the main leader
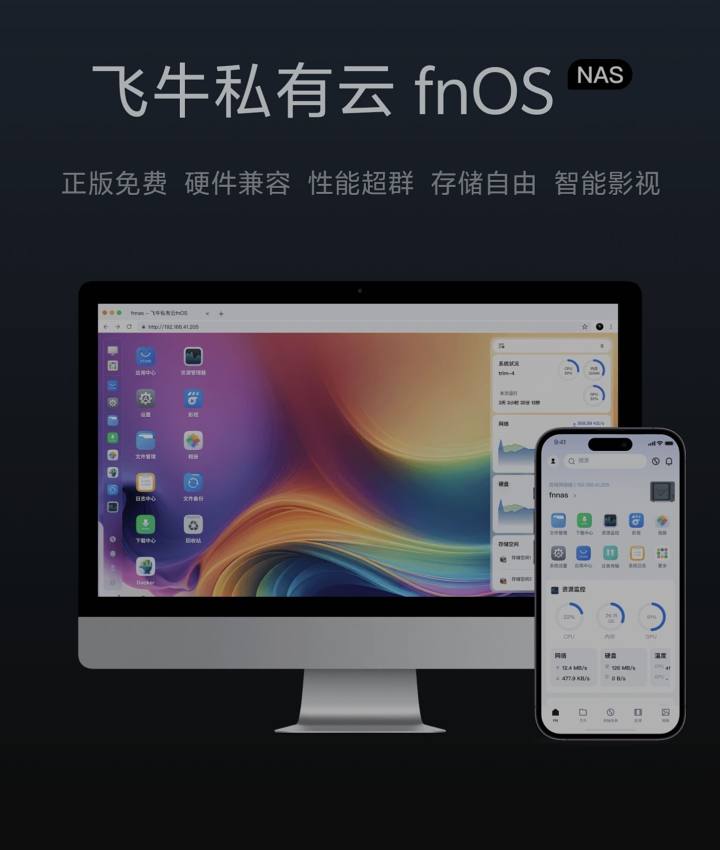
The main feature of this issue is FNOS, a NAS system I currently recommend. It maintains a good balance between rich features and usability, though there are still shortcomings. There are many NAS systems, such as Synology's DSM and Jispace's ZOS. Choosing a NAS system that fits your needs is the best choice
Preliminary preparation
Any laptop, old desktop, or a NAS device like Snail StarCraft
Hard Drive: Mechanical hard drive or solid-state drive. I recommend using an SSD, as it will respond faster. SSDs come in different protocols and sizes, so I won't go into detail here
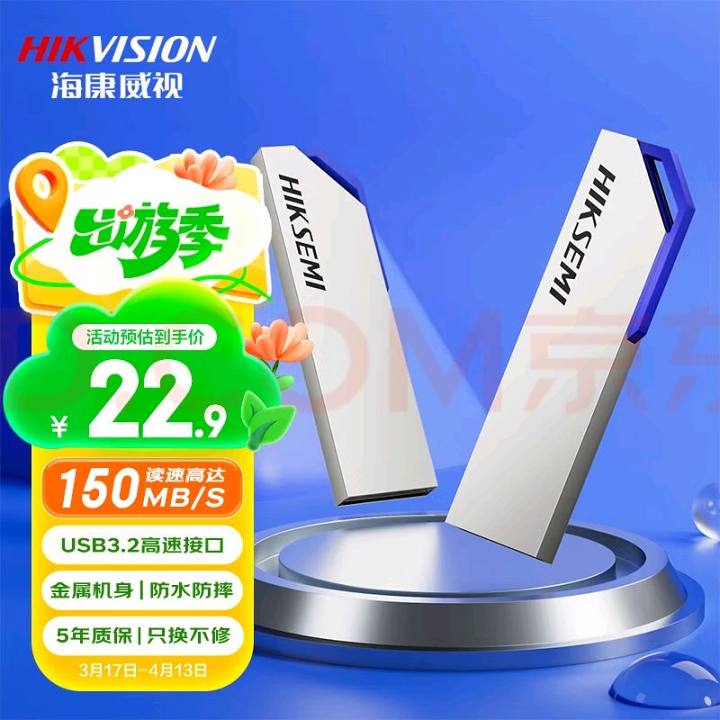
The USB drive should preferably be at least 32GB
Network cables
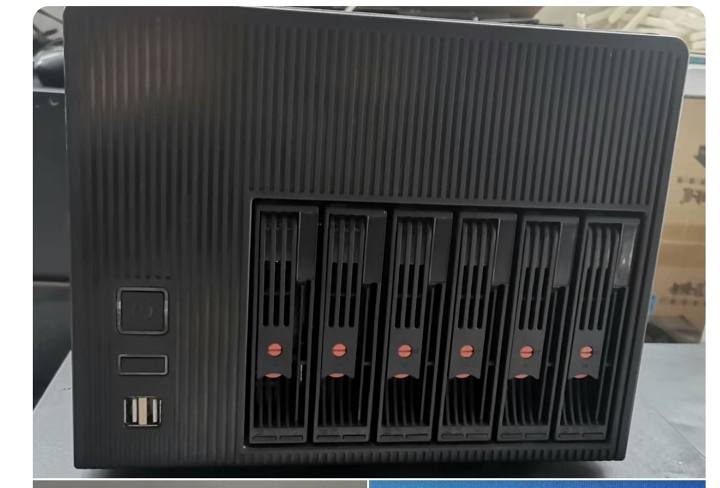
Here I have Toplong six-disc positions
Hikvision 64G USB drive
First of allDownloadISO files and drivesToolsOn the computer
ISO files:View the link
Writing tools:View the link
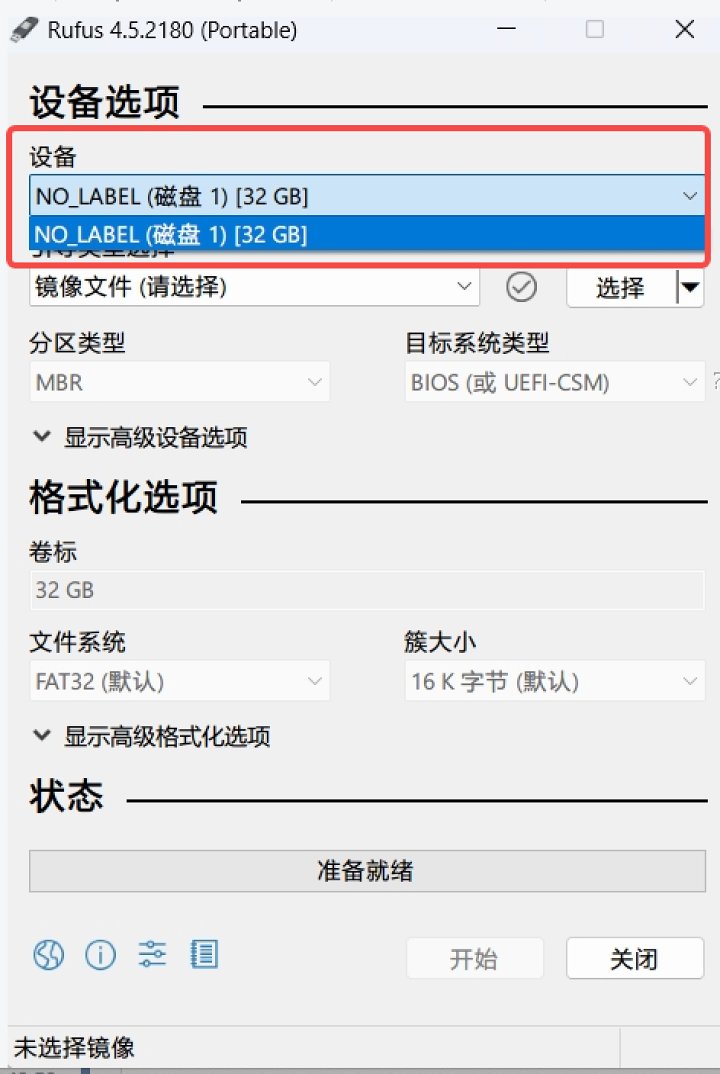
Launch the Writing Tool
1. Select the USB drive you want to write
2. Select the downloaded image
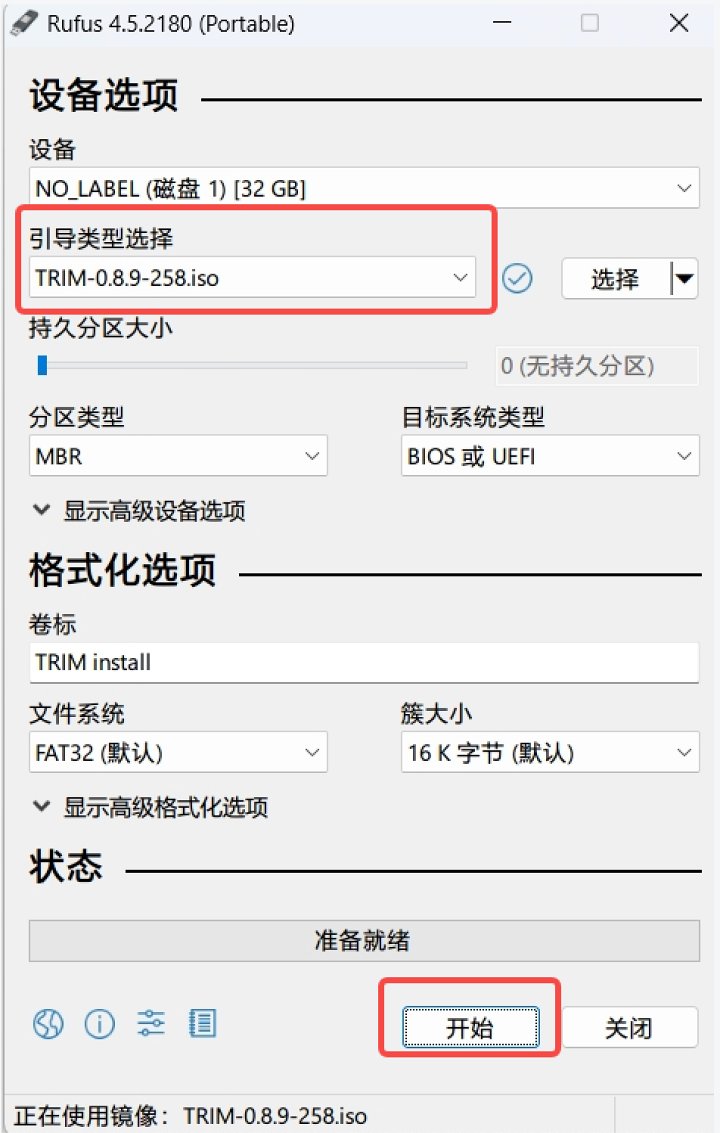
3. Click Start
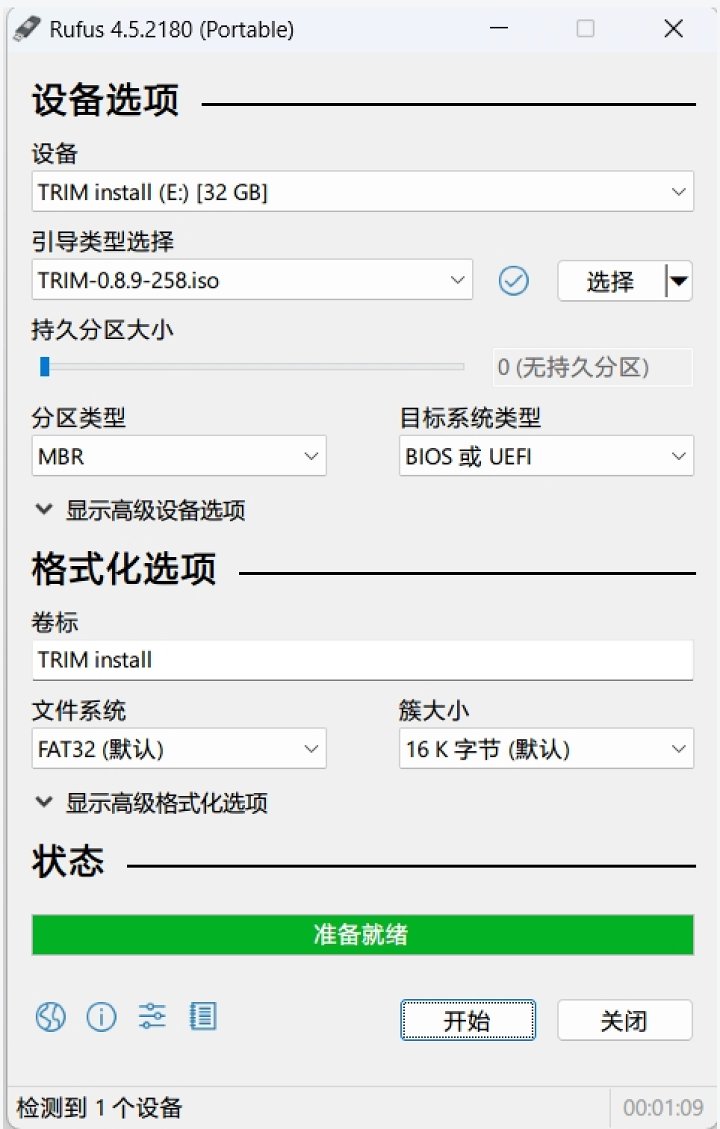
The progress bar shows "Ready" to indicate completion and you can remove the USB drive.
A boot disk is ready; the above are the steps on the official website
Let's get startedFlashing the device
When inserting a USB drive, most blue USB ports support 3.0 speed, so prioritize plugging into the blue port
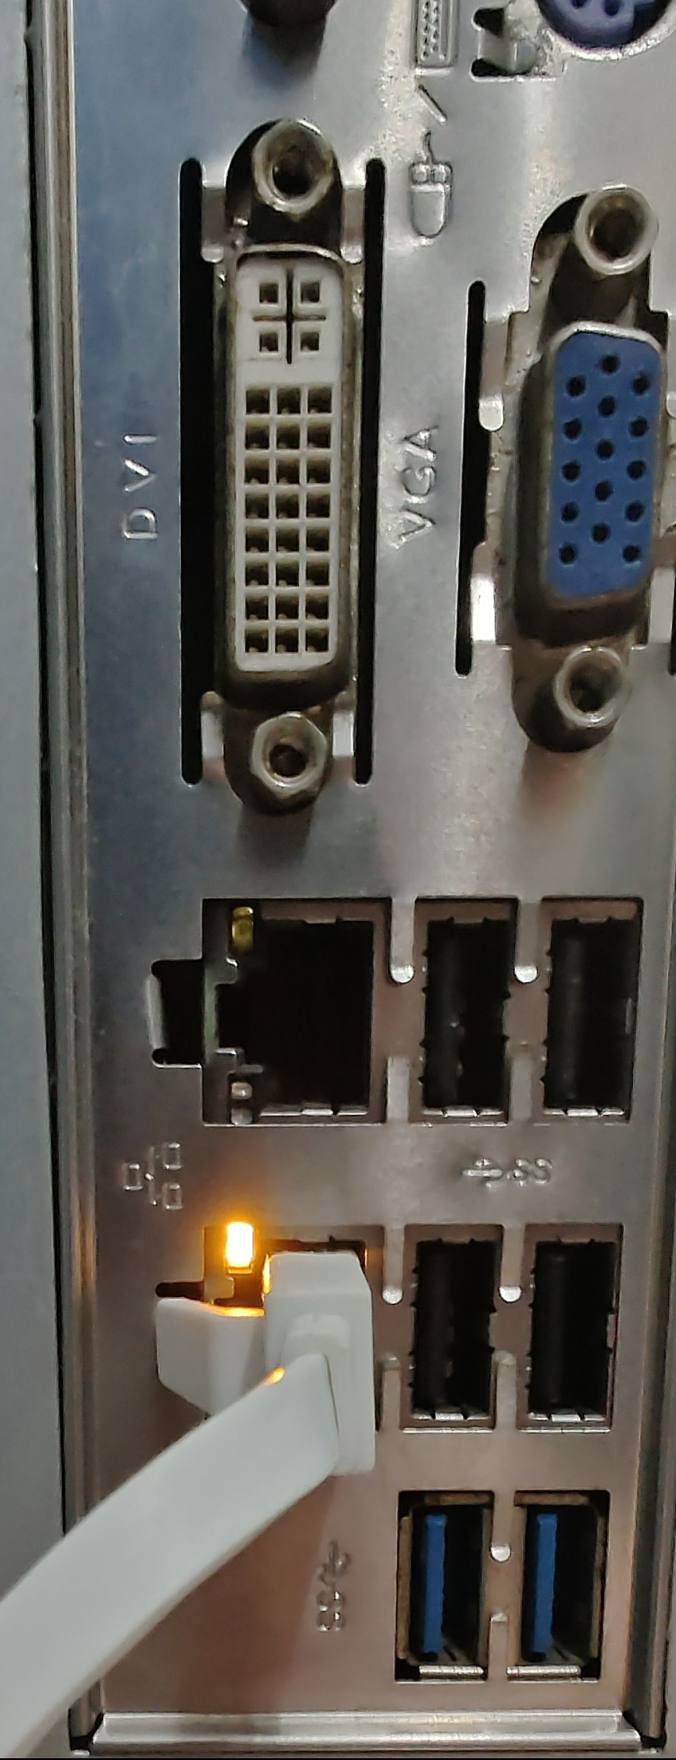
Plug it inMonitorAnd keyboard, mouse, network cable, hard drive, and so on
Plug in the main unit and power it on (the high current is not the same as the afternoon high current).
Press F2 or F12 repeatedly to enter the BIOS. Different motherboards have different buttons, so you need to check them yourself
After entering the BIOS, change the USB drive to boot disk and save and exit
Some computers will reboot, while others will go directly to the USB drive and boot from the USB drive
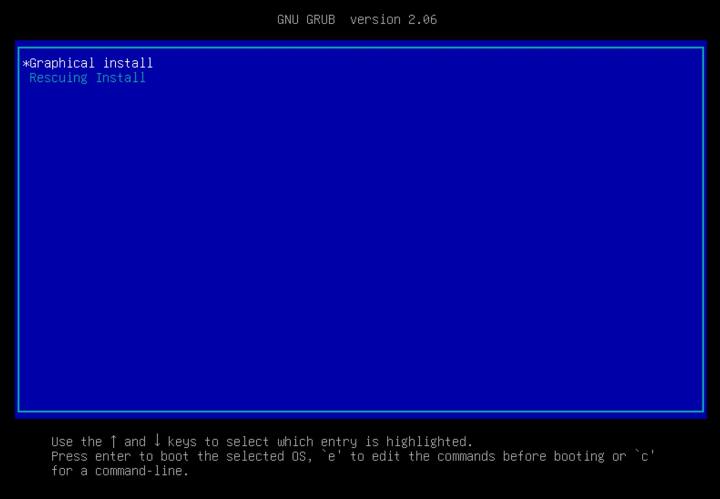
Keep pressing Enter to the following interface
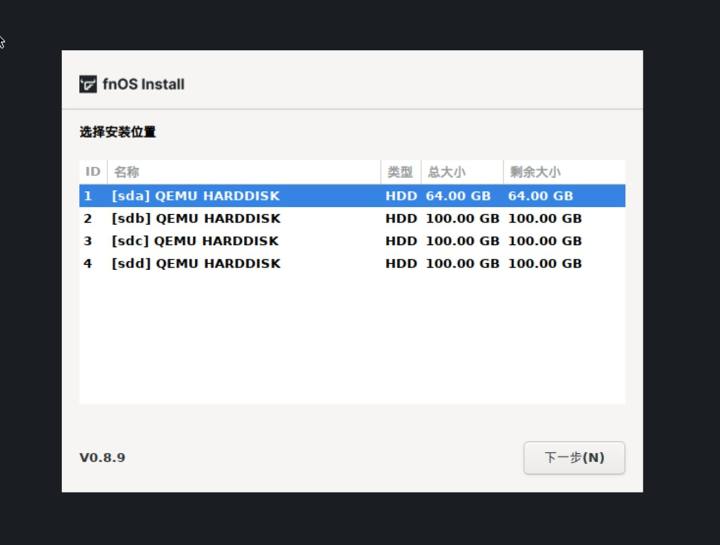
When choosing the SSD on your machine, it's recommended to allocate capacity according to the size provided by the manufacturer
Then you can format the hard drive or keep the original disk data, up to your choice
System installation
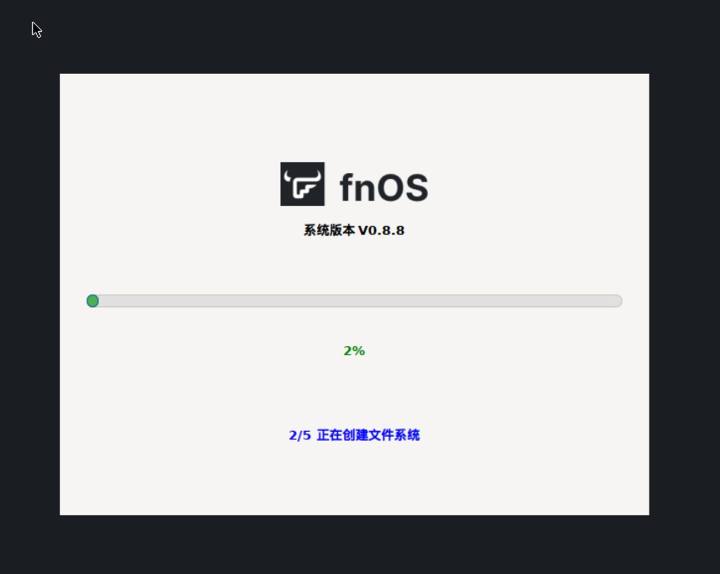
Later, set the IP. If you're a beginner, don't touch it—just follow the automatic method. You can fix the IP in the system or on the router
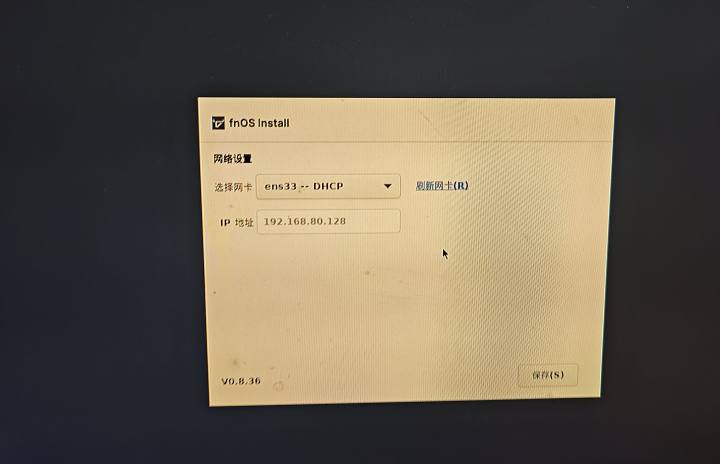
Once the network setup is complete, you can remove the USB drive
The machine will restart and installation is complete
Some machines boot slowly; you can enter the BIOS again, enable fast boot, and limit the CPUPower consumptionThis part will be discussed in detail later
After the host restarts, you will reach this screen
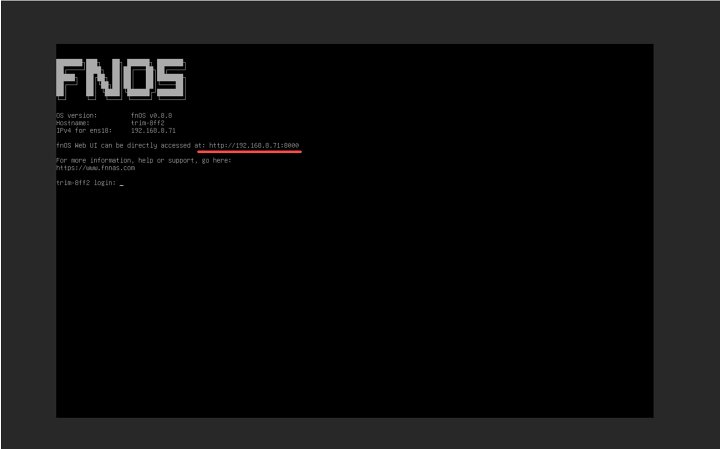
On the same LAN, enter the red URL in the browser on another computerIP address, Go to the Feiniu webpage, set the administrator account and device name. Do not use the super administrator name hereroot, it's easy for problems to arise
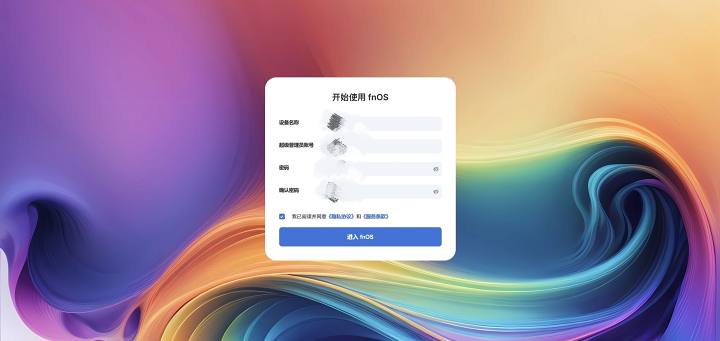
After clicking here, it's easy to get an error and no response
Click a few times and refresh the webpage, and you'll see the setup is complete. Just enter your username and password to log in
The first step is to set up the hard drive and create a storage pool, using Feiniu to raiD provides a detailed introduction, so I won't go into it here
Ordinary users are not recommended to set up RAID; I suggest using single-drive storage. For important data, backup multiple drives, set up automatic backups on drives A and B, and then encrypt themData backupTo the cloud drive
Maximizing storage utilization. Most people's important data does not exceed 1TB. For film and study materials, you can use Word to store links, but for some scarce resources, it's best to back them up frequently
Later, I'll teach you how to set up multi-drive backups and back up to cloud drives
For Feiniu's interface, I divided it into three parts: left, center, and right
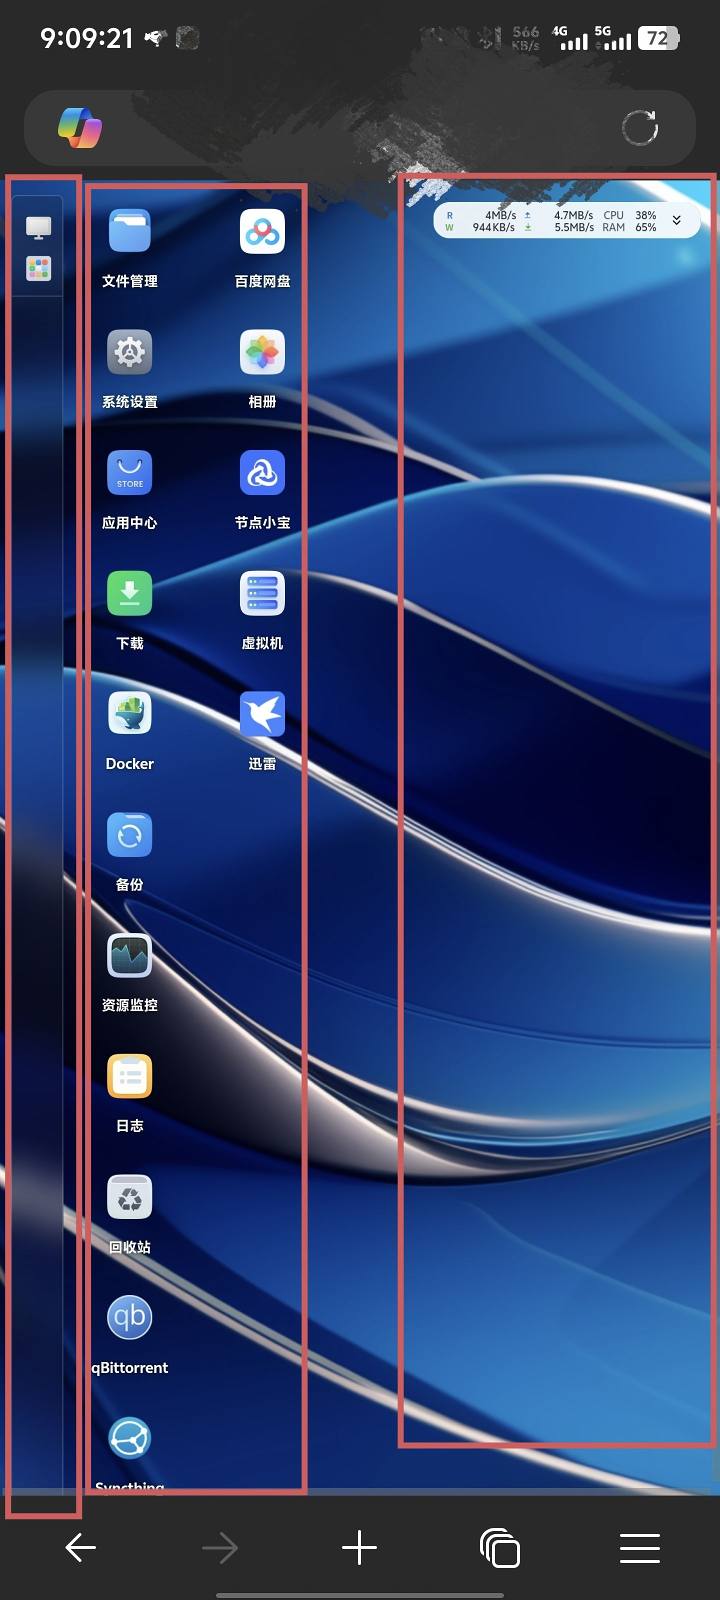
Let's start with simplicity
Middle
Official includedAPP, marketplaces, Docker, and so on, and similar casesMobile phonesDesktop—just click on it, and you can access it in Docker or the official siteApplicationMarket adds applications
Right
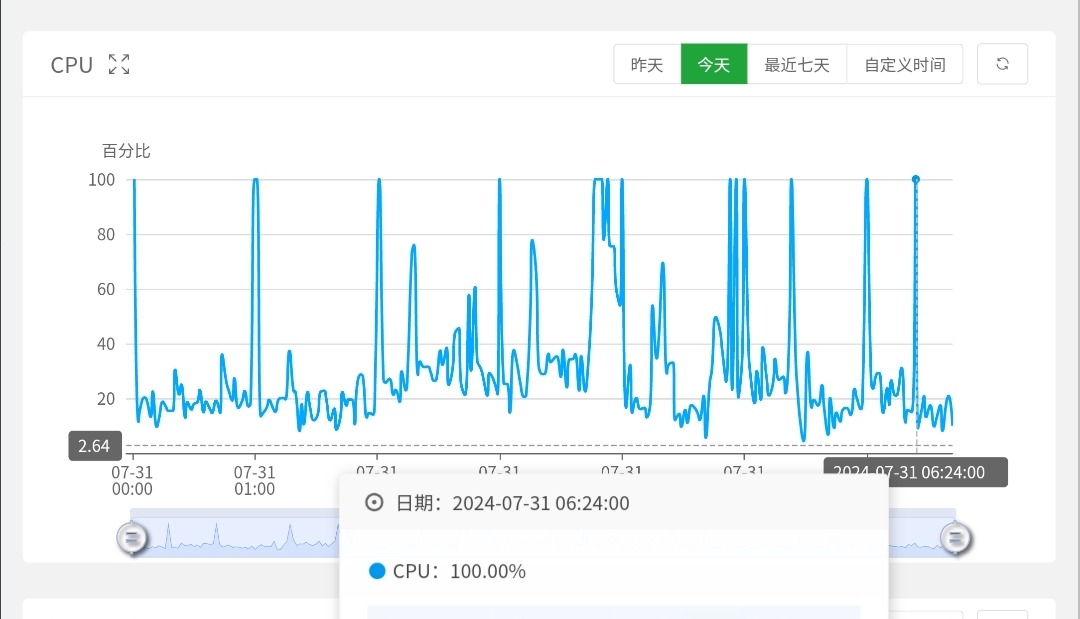
Performance monitoring, network, storage space—scroll down to expand, and display settings on the left
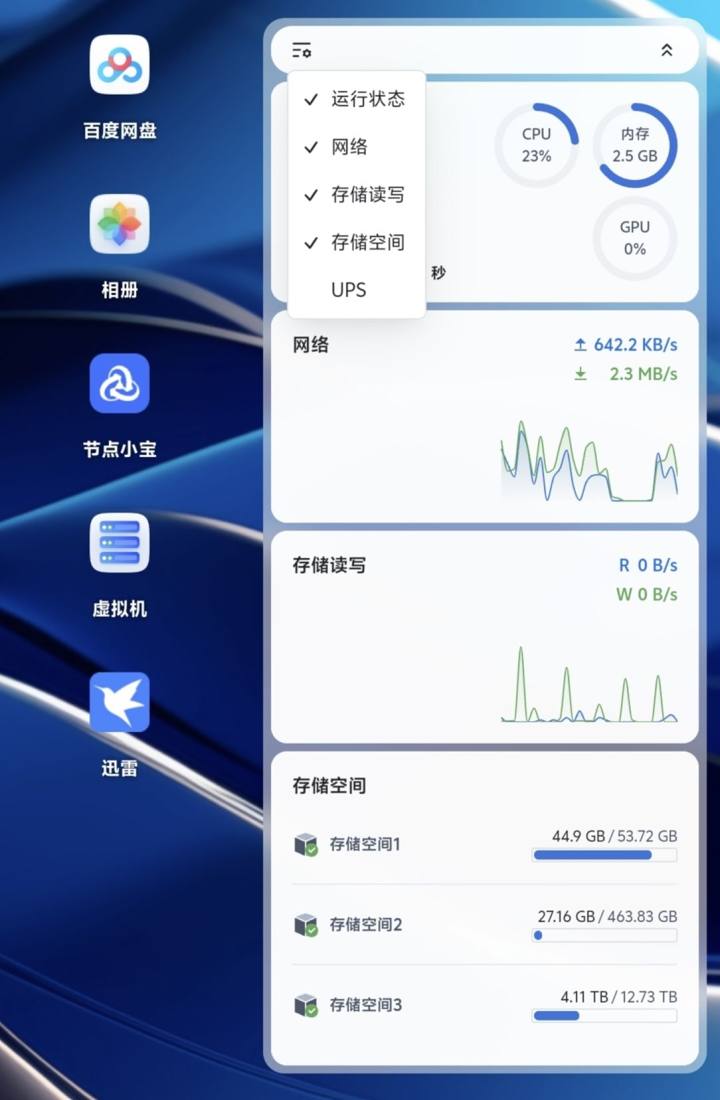
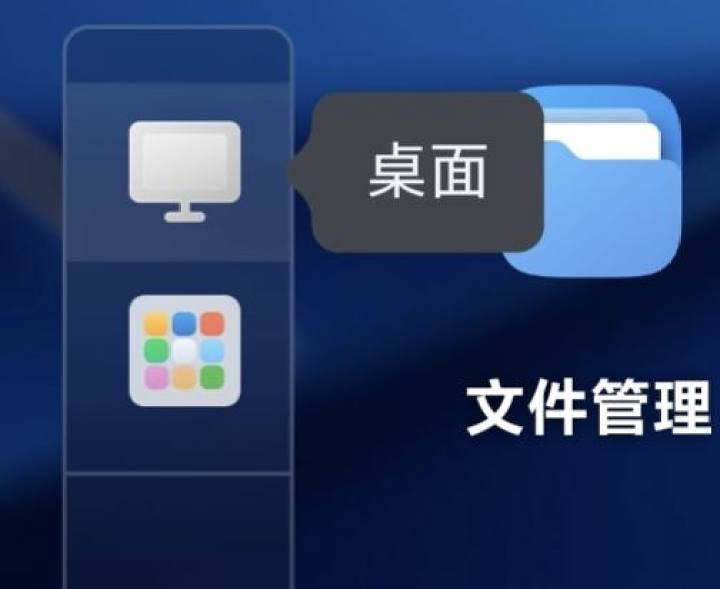
Left
The two functions above are to return to the desktop and the app drawer
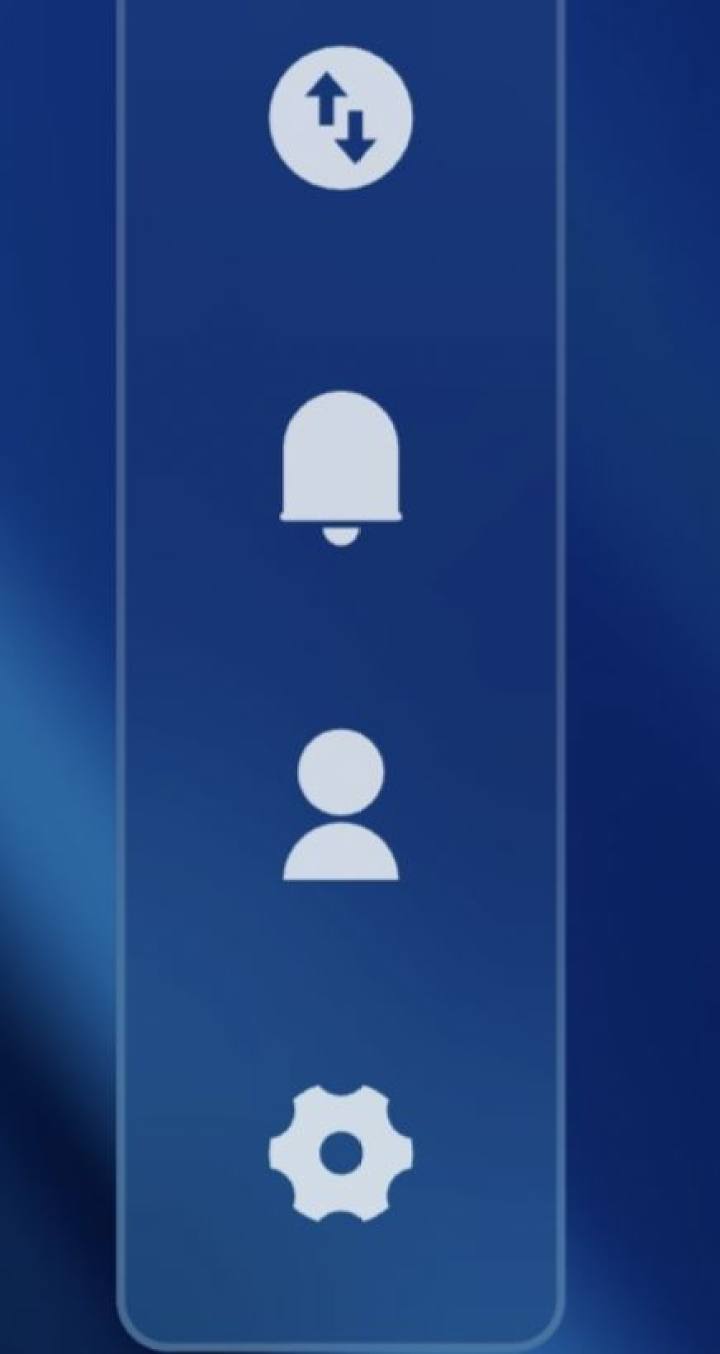
The following four functions are to transfer progress tasks, notify notifications, manage account settings, and provide system settings and assistance
With that, the Feiniu system is fully installed. Next, I'll back up official Feiniu photos and set up my private Yingku setupTutorial,ddnsand virtual machine course-making, among other options#NAS##飞牛私有云fnOS ##如何做好数据备份 #
![[Open Source Reading] November 950+ carefully proofread book source compilation and update - Baiyun Blog](https://www.bybk.cc/wp-content/uploads/2023/02/Screenshot_20230222-1001582.png)
![[Text and Image Summary] Summary of Terminals Currently Supporting 5G-A Carrier Aggregation --- Includes How to Check Carrier Aggregation Enabled on iOS - Baiyun Blog](https://www.bybk.cc/wp-content/uploads/2024/04/20240407140712630-e26ee861710dd3b075a1302dd00392d5e1db60a1.jpeg)

![[Open Source Reading] January 2024 ≈ 400 carefully edited book source compilation and update - Baiyun Blog](https://www.bybk.cc/wp-content/uploads/img/af867764c3780f0b7da88376fca7bf92.png)
![[Open Source Reading] November 950+ carefully proofread book source compilation and update - Baiyun Blog](https://www.bybk.cc/wp-content/uploads/2023/02/Screenshot_20230222-1001582-1024x593.png)
![[Open Source Reading] October 1300 Book Source Update - Baiyun Blog](https://www.bybk.cc/wp-content/uploads/img/1eeb6ae31cde88ab39faa2f19651638d.jpeg)
![[VMOS PRO 2.9.6 Member Edition] - Baiyun Blog](https://www.bybk.cc/wp-content/uploads/img/c303a7a50d3ebfa235cc380190db2980.png)





No comments yet